So, you’re thinking about streaming on Twitch? Awesome. Before you dive in, let’s talk about what you actually need to get started. The good news is, you don't need a Hollywood-level studio. At its core, you just need four things: a decent device (PC, Mac, or console), a solid internet connection, a way for people to hear you (a microphone), and some broadcasting software to tie it all together.
That's it. That’s the foundation.
Your Starting Lineup For A Twitch Stream
It’s easy to get overwhelmed by all the gear you could buy, but let’s be real: many of the biggest streamers started with the basics. Your personality and the community you build are what really matter. The gear just helps you deliver that experience.
We'll walk through the practical minimums to get you live, and then cover the recommended specs for a more professional, high-quality broadcast. The goal here is to get you streaming confidently, whether you're aiming for a casual 720p stream or a crisp 1080p experience.
The Core Streaming Essentials
When you stream, your computer is doing a lot of heavy lifting at once. It’s running the game, capturing your video and audio, encoding it into a streamable format, and then uploading it to Twitch—all in real time. If any part of that chain is weak, the whole experience can fall apart for your viewers.
This is why your hardware, internet, and audio are the three pillars of a good stream.
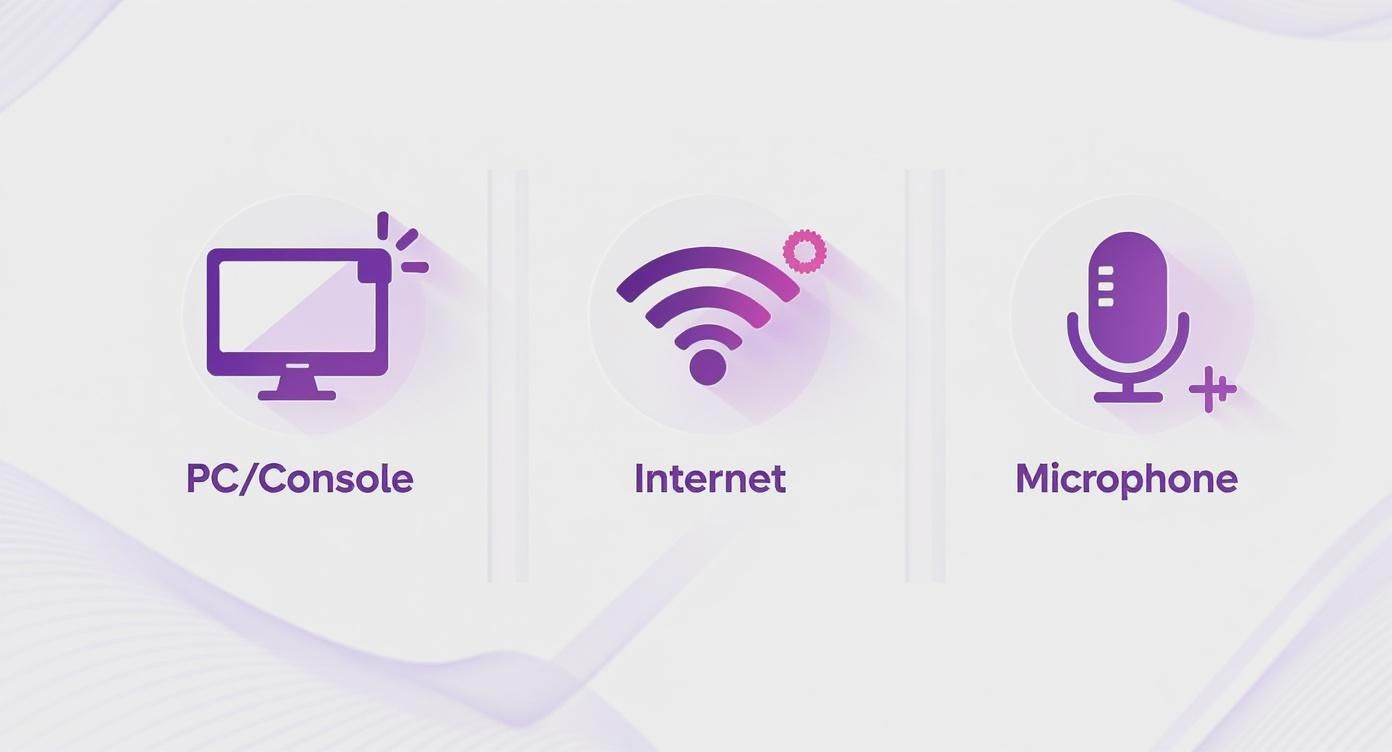
As you can see, getting these three elements right is non-negotiable. Viewers might forgive a few dropped frames, but a stream that’s constantly buffering or has terrible audio will make them click away fast.
To give you a clearer picture, let's compare the bare minimum you need to get by versus a setup that will give your viewers a much better experience.
Minimum vs Recommended Twitch Streaming Requirements
This table breaks down the difference between a starter setup and a more robust one. The "minimum" column will get you live, but the "recommended" setup is where you start to look and sound professional.
| Component | Minimum Requirement (720p, 30fps) | Recommended Setup (1080p, 60fps) |
|---|---|---|
| CPU | Intel Core i5-4670 / AMD FX-8350 | Intel Core i7-9700K / AMD Ryzen 7 3700X |
| RAM | 8 GB DDR3 | 16 GB DDR4 |
| Graphics Card | NVIDIA GeForce GTX 960 / AMD Radeon R9 280 | NVIDIA GeForce RTX 3060 / AMD Radeon RX 6700 XT |
| Internet Speed | 3-6 Mbps Upload | 10+ Mbps Upload (Wired Ethernet) |
Remember, these are just guidelines. The recommended specs ensure your PC can handle gaming and high-quality encoding without breaking a sweat, leading to a much smoother broadcast for your audience.
Broadcasting Software: The Digital Command Center
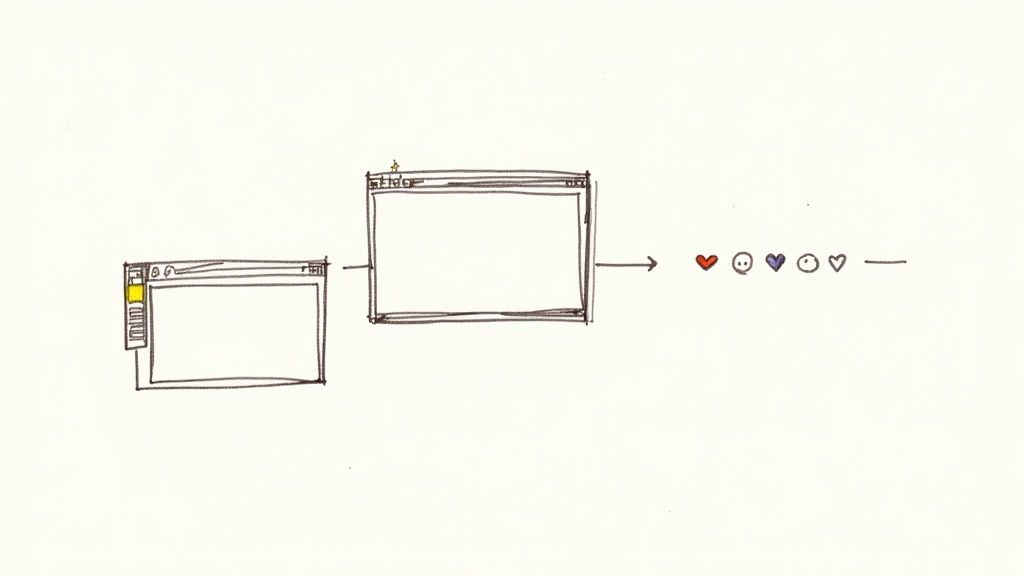
Your broadcasting software is the brain of your operation. It’s what takes your game, webcam, and microphone feeds, mixes them all together, and sends the final product to Twitch.
While there are a few options out there, the go-to for pretty much everyone is OBS Studio.
Why? Because it’s free, powerful, and gives you an incredible amount of control. You can create different scenes, add custom overlays, and fine-tune every single aspect of your stream's look and sound. It’s the industry standard for a reason.
Connecting With Your Audience
Finally, let's talk about what truly builds a community: interaction. And for that, people need to hear you clearly. A stable internet connection is also crucial. For a standard 720p stream at 30 frames per second (fps), you'll need an upload speed of at least 3-6 Mbps. If you're aiming for that silky-smooth 1080p at 60fps, you should have 10 Mbps or more.
With an average of 2.29 million concurrent viewers on Twitch at any time, clear communication is what will make you stand out.
Here’s a pro tip from experience: viewers will tolerate lower video quality far more than they will tolerate bad audio. If they can't understand you, they're gone. A decent USB microphone is one of the best first investments you can make.
Of course, the pressure of a live broadcast isn't for everyone. Some creators prefer the polish and control of a pre-recorded show. You can learn more about the differences between live vs. pre-recorded streams to see if that approach fits your style. This method lets you edit out mistakes and guarantees a perfect presentation every time.
Choosing the Right Streaming Hardware
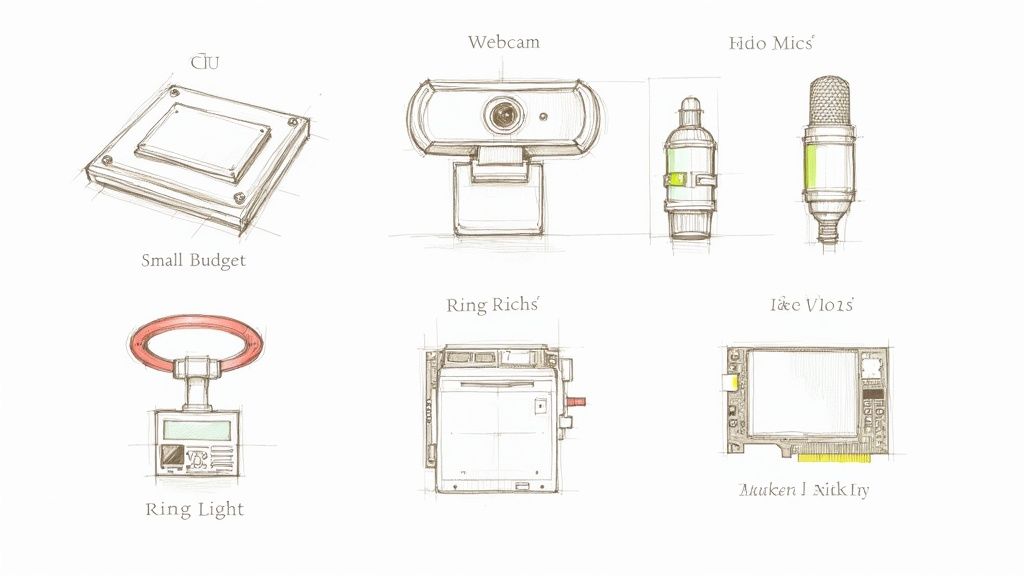
Think of your hardware as the foundation of your stream. Making smart choices here is what separates a smooth, professional broadcast from a laggy, frustrating one. But don't worry, this doesn't mean you need to break the bank. It’s all about investing in the right places, starting with the heart of any streaming setup: your computer.
The central processing unit (CPU) is, without a doubt, the most critical piece of the puzzle for a streamer. It has to pull double duty: run your game smoothly and handle the intense process of video encoding. Encoding is what takes your gameplay, webcam feed, and audio, and compresses it into a single package that can be beamed out to Twitch.
If your CPU isn't up to the task, your viewers will know. You'll see dropped frames, stuttering video, and a stream that’s just plain unwatchable. This is exactly why multi-core processors are a streamer's best friend. A modern CPU with six or more cores can dedicate some of its power just to encoding, leaving the rest to handle the game. It’s like having a separate brain just for your broadcast.
Your Voice and Face on Screen
While the PC is doing all the heavy lifting in the background, your microphone and webcam are your personal connection to your audience. This is how you go from just showing gameplay to creating a real, engaging experience. Honestly, upgrading your mic and camera is one of the most impactful changes you can make.
For anyone just starting out, a good USB microphone is the way to go. There's a reason you see models like the Blue Yeti or Rode NT-USB+ on so many desks—they offer fantastic audio quality right out of the box, with no complicated setup. Just plug it in and you’re ready.
If you get serious about streaming, you might eventually look into an XLR microphone setup. This involves the mic, an audio interface (like a Focusrite Scarlett), and an XLR cable. It's a bigger investment and has a steeper learning curve, but the payoff is superior sound quality and professional-level control.
A decent webcam is just as crucial. People want to see your reactions! A grainy, dark camera can be incredibly distracting.
- Great Value: The Logitech C920 has been the gold standard for years. It delivers a crisp 1080p image that’s a massive leap from any laptop camera.
- Better Quality: Stepping up to something like the Elgato Facecam or Razer Kiyo Pro gets you uncompressed video, which looks much cleaner, especially in low light.
- Pro-Level: For the absolute best quality, top-tier streamers often use a DSLR or mirrorless camera fed through a capture card. It's an advanced and expensive route, but the visual clarity is unmatched.
The Power of Good Lighting
Here’s a secret that many new streamers miss: you can have the best camera in the world, but it won't look good without proper lighting. Lighting is what makes a stream look polished and professional. It gets rid of harsh shadows, makes your video feed pop, and helps your camera operate at its full potential.
A simple, affordable ring light can make a $70 webcam look like a $200 one. It creates a soft, even light that’s flattering and helps separate you from your background. You don’t need a complex three-point studio setup to get started.
Just place your main light (your "key light") in front of you and a little above eye level. That one simple change will instantly upgrade your look.
Do You Really Need a Capture Card?
A capture card is a device that grabs a video feed from one source (like a console) and sends it to your PC to be streamed. If you're only streaming games from the same PC you're playing on, you probably don't need one. But in a couple of key situations, it's non-negotiable.
You will absolutely need a capture card if:
- You stream from a game console. To get your PlayStation, Xbox, or Switch gameplay onto your PC and into OBS, a capture card acts as the necessary bridge. The Elgato HD60 S+ is a fantastic, user-friendly option for this.
- You use a dual-PC setup. This is an advanced technique where one PC is dedicated to gaming and a second PC is dedicated to encoding and streaming. A capture card is what sends the video from your gaming rig to your streaming rig, ensuring both machines are running at peak performance.
Making the right hardware choices is an ongoing journey. Most successful creators start with a solid, budget-friendly setup and upgrade their gear over time as their channel grows. For more strategies on building your content, check out the different topics on our Pre-recorded LiveStream blog. A little planning now will save you countless headaches and help you produce a stream you're truly proud of.
Mastering Your Broadcast Software
Now that your hardware is ready to go, it’s time to dive into the digital control room of your stream. This is where your broadcasting software comes in, acting as the central hub that mixes your gameplay, webcam, and audio into a polished final product for your Twitch audience.
While there are a few options out there, the undisputed king is OBS Studio. It’s free, incredibly powerful, and the industry standard for a reason. Opening it up for the first time can feel a little intimidating with all its settings and windows, but you'll get the hang of it fast. The main goal here is to find that sweet spot between visual quality and stream stability, ensuring your viewers have a smooth, enjoyable experience.
Decoding the Core Settings
Before you can even think about hitting that "Start Streaming" button, you need to tell OBS how to package your video for Twitch. This really comes down to three crucial settings: resolution, bitrate, and the encoder. Getting these right is the secret to avoiding common frustrations like a pixelated picture or constant buffering for your viewers.
- Resolution: This is basically the size of your video canvas. A resolution of 1920x1080 (1080p) is the modern standard for a sharp, high-definition stream. If your PC or internet struggles to keep up, don't sweat it—streaming at 1280x720 (720p) is a fantastic and widely accepted alternative that demands far fewer resources.
- Bitrate: Think of bitrate as the amount of data you're sending to Twitch every second. A higher bitrate means a cleaner, more detailed image, but it also requires a faster upload speed. If you set this too high for your internet connection, you'll start dropping frames, which is the number one cause of a laggy, unwatchable stream.
- Encoder: This is the workhorse that compresses your video into a manageable size for streaming. Most people should use their graphics card (NVENC for NVIDIA, AMF for AMD) because it handles this heavy lifting without bogging down your CPU. This leaves your processor free to focus on what it does best: running your game smoothly.
A great rule of thumb from years of experience: your bitrate should never exceed about 75-80% of your stable upload speed. This gives you a crucial buffer to prevent instability if your internet connection fluctuates, which it almost always does.
Finding Your Perfect Bitrate
Choosing the right bitrate is a balancing act between your internet's upload speed and your desired stream quality. Trying to push a 1080p stream at 60fps with a slow connection is just asking for trouble. Instead, you need to match your settings to what your connection can realistically handle.
Thankfully, Twitch provides official recommendations that give us a fantastic starting point. Here are some of the most common settings you'll use in OBS.
Recommended OBS Bitrate Settings for Twitch
This table gives you a solid reference for configuring your OBS settings based on your target resolution and what your internet can handle.
| Resolution & FPS | Required Upload Speed | Recommended Video Bitrate (Kbps) |
|---|---|---|
| 720p at 30fps | 4.5 Mbps | 3,000 - 4,000 Kbps |
| 720p at 60fps | 6 Mbps | 4,500 - 6,000 Kbps |
| 1080p at 30fps | 6 Mbps | 4,500 - 6,000 Kbps |
| 1080p at 60fps | 8 Mbps+ | 6,000 - 8,000 Kbps |
Just remember to always use a wired ethernet connection for streaming. Wi-Fi is way too prone to interference and will cause headaches.
To dial these in, just go to Settings > Output in OBS, change the "Output Mode" to "Advanced," and pop your chosen bitrate into the "Video Bitrate" box. Then, head over to Settings > Video to set your "Base (Canvas) Resolution" and "Output (Scaled) Resolution."
Building Your Stream Scenes
Beyond the technical stuff, OBS is your creative playground. It lets you build different layouts, called Scenes, that you can switch between during your broadcast. Even a simple, professional-looking stream usually has a few core scenes ready to go.
Think about setting up these essentials:
- Starting Soon Scene: A screen to display before you go live, maybe with a countdown timer and your social media links.
- Main Gameplay Scene: This is your primary view, featuring your game capture, your webcam tucked in a corner, and any cool overlays or alerts.
- Be Right Back Scene: A simple placeholder for when you need to step away for a minute.
- Full-Screen Camera Scene: Perfect for chatting directly with your audience between games or during a dedicated Q&A.
To build a scene, you just add different Sources. A source can be anything: your game (Game Capture), your webcam (Video Capture Device), an image, or some text. You can arrange and resize these sources however you want on the canvas.
To really bring your stream to life, you can add alert pop-ups from a service like StreamElements or Streamlabs. You do this by adding a Browser source. This simple touch lets you celebrate new followers, subscribers, and donations in real-time, making viewers feel recognized and truly part of the show.
Creating a Stream Viewers Will Remember
Okay, so your hardware is humming and your software is ready to go. The technical part is handled. Now we get to the fun stuff—turning your broadcast into an experience.
A killer stream is way more than just a clean video feed. It’s about creating a vibe, a space where people want to hang out. This is where you stop just playing a game and start building a community.
Your stream's visual identity is a new viewer's first impression, and it speaks volumes before you even say a word. It sets the tone for everything. Think about your overlays framing your gameplay, the little pop-ups when someone follows—it all works together to tell people what your channel is about.
Crafting Your Unique Visual Identity
Think of custom overlays and alerts as your stream's signature look. A well-designed overlay makes you look polished and professional, but it also neatly organizes information for your viewers. They can see recent followers or your social media handles without the screen feeling cluttered.
When someone follows or subscribes, a custom alert that fits your brand makes that moment feel special. It’s a thank you that’s uniquely you.
You don’t have to be a graphic design wizard to pull this off. There are tons of pre-made packages out there, but even simple custom touches can make a huge difference.
- Overlays: These are the frames and graphics around your webcam and gameplay.
- Alerts: These are the pop-ups for new followers, subs, and donations. Unique sounds and animations here can become legendary inside jokes with your audience.
- Emotes & Badges: As you grow, you'll unlock custom emotes and subscriber badges. They are a massive part of Twitch culture and an amazing way to reward your biggest supporters.
I've seen it time and time again: the most effective stream elements are the personal ones. An alert featuring your dog or an emote based on something hilarious you said last week will connect with people far more than a generic graphic ever could.
Your Channel Page Is Your Welcome Mat
Your actual Twitch channel page is your digital storefront. Before anyone even thinks about hitting that follow button, they’re going to scroll down to see what you're all about. This is where your bio and Twitch Panels are absolutely crucial.
A great bio hooks them in just a few sentences. Your Panels are the clickable graphics below the stream that give them the details. Please, don't sleep on these.
A solid panel setup should cover the basics:
- About Me: A deeper dive into who you are.
- Schedule: Consistency is everything. Tell people when you'll be live.
- Rules: Set the tone for your chat.
- Socials: Link out to your Discord, Twitter, etc.
- Donations: A simple, no-pressure way for fans to support your work.
Adding Interactivity with Twitch Extensions
Want to really crank up the engagement? Dive into Twitch Extensions. These are free, interactive overlays and panels you can add right to your channel page. They give your viewers a way to do more than just watch—they get to participate.
You could add an extension for live polls, one that shows your in-game loadout, or even one that lets the audience influence what happens next. Extensions are an incredible way to turn passive lurkers into active members of your community.
This focus on engagement isn't unique to Twitch, either. The same principles apply when you live stream on Facebook; the goal is always to give your audience a way to be part of the show.
Growing Your Channel Beyond the Basics
Okay, so you're live. Your tech is holding up, and you're getting comfortable talking to a camera. That's a huge step! But this is where the real work starts. Going from just broadcasting to actually building a channel means thinking strategically about how to grow.
Your first major goal is hitting Twitch Affiliate. This is your entry ticket to the platform's core monetization features. Think of it as Twitch giving you a nod of approval, recognizing that you're showing up consistently and building a small community.
The Path to Twitch Affiliate
Honestly, becoming an Affiliate is a very reachable goal for anyone who streams consistently. Twitch lays it all out for you in the "Path to Affiliate" achievement, which you can track right in your Creator Dashboard.
Over a 30-day window, you'll need to hit these four targets:
- Reach 50 followers
- Stream for a total of 8 hours
- Stream on 7 different days
- Hold an average of 3 concurrent viewers
Nailing these milestones is your first real taste of channel growth. Once you're in, you get access to some powerful tools that let your community support you in new ways—and yes, help you start earning some money.
Unlocking Your First Monetization Tools
Affiliate status opens up the main income streams on Twitch. Subscriptions, Bits, and ads are how most streamers earn their first dollars. Viewers can subscribe for a monthly fee (from $4.99 to $24.99), toss you some Bits as a form of digital tip, or you can earn a cut from ads.
- Subscriptions: This is the big one. Subs get perks like custom emotes and ad-free viewing.
- Bits: Viewers can buy this virtual currency to "Cheer" in your chat, which triggers cool animated alerts.
- Ad Revenue: As an Affiliate, you get a slice of the revenue from any ads you choose to run.
I’ll never forget my first subscriber. It’s not really about the couple of bucks; it’s that moment when someone says, "I like what you're doing, and I want to be a part of this." It's a huge motivator.
You can get a deeper look into how these numbers break down by checking out some detailed Twitch streaming statistics.
The Next Big Leap: Twitch Partner
Once you've been an Affiliate for a while and have seen steady growth, the next mountain to climb is Twitch Partner. This is a much more exclusive club. It's for established streamers who have built significant, engaged communities and are seen as role models on the platform.
The "Path to Partner" achievement is the prerequisite for applying. In a 30-day period, you'll need to:
- Stream for 25 hours
- Stream on 12 different days
- Maintain an average of 75 concurrent viewers
Hitting these numbers doesn't automatically make you a Partner—there's a manual application and review process—but it gets your foot in the door. The perks are worth it, though. Partners often get a better revenue split, a verified checkmark, and a lot more customization options.
Cast a Wider Net with Multistreaming
As your channel grows, you'll start thinking about how to find new viewers. While Twitch might be your home base, don't ignore other platforms. Multistreaming—going live on Twitch, YouTube, and Facebook all at once—is a great way to get your content in front of entirely new audiences.
This is where a service like ours at Pre-recorded LiveStream can make a huge difference, especially if you're creating polished content like interviews, tutorials, or special events. It helps you get the most out of every video you make, pushing your content out further and growing your brand beyond just one platform. It's a smart move when you're ready to level up from beginner to serious creator.
Common Questions About Starting on Twitch
Even after you've got all the gear and software sorted, hitting that "Go Live" button for the first time can feel intimidating. It’s completely normal to have some last-minute questions and jitters. Let's walk through some of the most frequent concerns new streamers have.
Think of this as your final pre-flight check. We'll clear up any doubts about the real cost, your internet connection, and the surprising challenges you might not have considered yet.
How Much Does It Really Cost to Start Streaming?
Honestly? It can be anything from $0 to several thousand dollars. If you already have a gaming PC and a headset with a built-in mic, you can start streaming right now using free software like OBS Studio. You don't need to spend a single penny just to try it out.
For a serious upgrade in quality that your viewers will immediately notice, you can put together a great budget setup. A solid USB microphone and a good 1080p webcam will run you about $150 to $250 total. This is probably the single best investment you can make early on. A more mid-range setup, maybe with a dedicated light and a capture card, could land in the $500 to $1000 range.
My best advice is to start small. Use what you have and upgrade piece by piece as you get more serious about streaming. Don't fall into the trap of thinking you need a pro setup on day one.
Is My Internet Good Enough to Stream?
This is a big one. The critical number here is your upload speed, not your download speed. For a basic 720p stream at 30fps, you'll need a stable 3-4 Mbps upload speed, minimum. If you're aiming for that crisp 1080p at 60fps look, you'll want to have a consistent 6-8 Mbps upload speed, if not more.
And I can't stress this enough: plug in an Ethernet cable. Wi-Fi is just too unreliable for streaming and is the number one cause of dropped frames and lag. Always run an internet speed test right before you go live to make sure your connection is solid.
What Is the Hardest Part About Getting Started?
It’s rarely the tech. Once you’re set up, the real challenge is learning to be an entertainer when you might be talking to yourself. Streaming to an empty chat room is a genuine mental hurdle.
The two things that will get you through it are consistency and a commitment to being engaging no matter what. Set a schedule and stick to it. Greet and interact with every single person who stops by. The streamers who succeed are the ones who push through that early phase of low viewership by providing value, even when it feels like no one is watching.
Want to deliver a flawless, high-production stream without the live-performance anxiety? Pre-recorded LiveStream lets you schedule perfectly edited videos to broadcast live on Twitch, YouTube, and more. You can hang out and interact with your chat in real-time while a polished, pre-recorded stream runs flawlessly from the cloud. It’s a game-changer for creating professional content. Learn more at https://prerecordedlivestream.com.