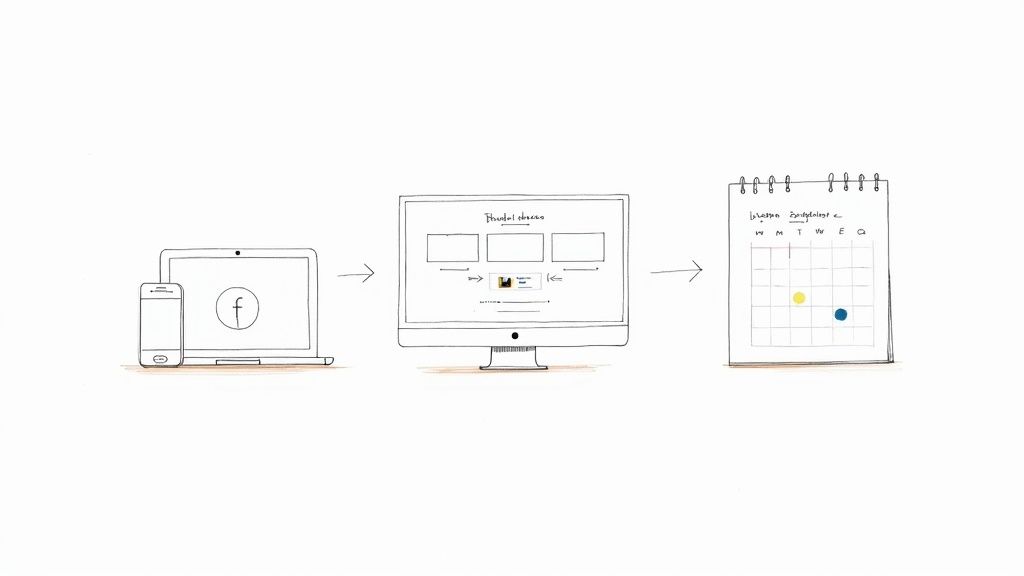
So, you're ready to go live on Facebook? It’s a lot more straightforward than you might think. Essentially, you’ve got three main paths you can take. You can go live in an instant straight from your phone, set up a more polished broadcast using dedicated software, or even schedule a pre-recorded video to play as if it’s live, guaranteeing a perfect presentation.
Choosing the Right Way to Live Stream on FB
Figuring out how you want to live stream on FB is your first real decision. This choice will shape everything from the production quality to how you engage with your audience, and ultimately, the impression you make. Each method has its own strengths, so matching the tool to your goal is crucial.
What are you trying to accomplish? Are you hosting a casual, off-the-cuff Q&A, or are you planning a high-stakes, branded product launch? Your answer will point you in the right direction.
The Three Core Streaming Methods
Facebook Live is incredibly versatile, with options that work for total beginners and professional production crews alike. Your choice will almost always fall into one of these three buckets:
Native Streaming (Mobile/Desktop): This is the fast and easy route. Just open the Facebook app or website, hit the button, and you're live. It’s perfect for spontaneous moments, behind-the-scenes peeks, and any on-the-go interaction where genuine connection is more important than a slick production.
Streaming Software (OBS): When you need more control, a tool like OBS (Open Broadcaster Software) is your best bet. This approach lets you hook up professional cameras, add custom overlays and graphics, share your screen, and manage your audio like a pro. Think tutorials, multi-person interviews, or gameplay streams.
Simulive (Pre-recorded): This clever method gives you the best of both worlds—the perfection of a recorded video combined with the real-time engagement of a live event. You film and edit your content ahead of time, then schedule it to broadcast as if it’s happening live. It's a lifesaver for important webinars or big announcements where you simply can't afford a technical hiccup.
The growth of live video is impossible to ignore. In fact, roughly 1 in 5 videos on Facebook is a live broadcast. That stat alone shows just how central this format has become for creators and brands.
Facebook Live Streaming Methods at a Glance
To help you decide at a glance, here’s a quick breakdown of the three methods.
| Method | Best For | Key Features | Technical Skill |
|---|---|---|---|
| Native (Mobile/Desktop) | Quick, spontaneous updates, Q&As, and behind-the-scenes content. | Simple to use, no extra software needed, instant engagement. | Beginner |
| Streaming Software (OBS) | Professional broadcasts, tutorials, interviews, and gaming. | Multi-camera support, screen sharing, custom graphics, advanced audio. | Intermediate |
| Simulive (Pre-recorded) | Flawless presentations, product launches, and major announcements. | No live mistakes, perfect video/audio quality, scheduled broadcasting. | Beginner-Friendly |
Each path offers a unique way to connect with your audience. Understanding your options is the first step to creating a broadcast that truly resonates.
And remember, your reach doesn't have to be limited to just one platform. If you're looking to maximize your audience, you can learn how to stream to multiple platforms at the same time, engaging with different communities all at once.
Going Live Natively on Mobile and Desktop
Sometimes, the simplest way is the best way. If you want to get in front of your audience fast, nothing beats using Facebook's own built-in tools. This is what we call "native" streaming.
It cuts out the need for complicated software and lets you start a broadcast in just a few taps. It’s perfect for those spontaneous moments—a quick Q&A, a behind-the-scenes look, or a hot take on something happening right now. You get a raw, authentic connection without any fuss.
Whether you're using your phone on the fly or sitting at your computer, the process is dead simple. You just head to the "What's on your mind?" box, just like you're creating a regular post, and look for the "Live Video" option. From there, you can broadcast to your personal profile, a Page you run, or a private Group you're a part of.
Going Live From Your Mobile Device
Streaming from your phone is all about capturing the energy of the moment. As soon as you tap "Live," your camera turns on, and a few crucial options pop up before your broadcast begins. This is your pre-flight check to make sure your stream grabs attention from the get-go.
Here’s what you need to nail:
- Write a killer description: Never, ever just write "Going live." You have to give people a reason to stop scrolling. Instead of "Live Q&A," try something like, "Spilling the tea! Answering your top 3 questions about our new launch. 🔥"
- Tag people and places: If you’re with a guest or at a cool event, tag them! It’s a simple trick that helps your stream show up in more places.
- Play with interactive features: Right from your phone, you can launch a poll, post a question, or even add some fun AR filters. These are built right in and are fantastic for getting people to engage immediately.
Streaming From Your Desktop
Broadcasting from a computer gives you a more stable and controlled environment. It’s my go-to for anything that requires a steady shot, like a product tutorial, a formal presentation, or an interview. The desktop interface, called Live Producer, gives you more granular control.
Why Bother? Don't dismiss native streaming as too basic. About 42.6% of all live stream viewers worldwide are watching on Facebook Live. That’s a massive audience you can tap into with just a few clicks. It proves you don't always need a high-tech setup to reach a huge number of people. If you want to dig into the numbers, you can explore more live streaming statistics here.
From your desktop, you have the advantage of scheduling your stream ahead of time. Facebook will even create an announcement post for you, which is great for building buzz. You can also easily select your webcam and microphone, monitor your stream's quality, and keep an eye on comments in a much cleaner layout.
One last thing before you hit that big blue "Go Live" button: always double-check your privacy settings. You can broadcast publicly, to friends, or even to a custom audience list. Make sure you're sending your message to the right people.
Taking Your Streams Pro with OBS
Ready to move beyond your phone's camera? If you want to create a truly polished and professional live stream on fb, it's time to bring in dedicated streaming software. My go-to, and the industry standard for a good reason, is Open Broadcaster Software (OBS). It's free, incredibly powerful, and gives you the kind of creative control that turns a simple broadcast into a real show.
Think of OBS as your digital production studio. It lets you mix together different cameras, microphones, graphics, and even pre-recorded video clips into one seamless feed that you send straight to Facebook. It might sound complicated, but the process is surprisingly straightforward once you get the hang of it.
Getting OBS and Facebook to Talk: The Stream Key
The magic connection between OBS and Facebook Live is called a stream key. It’s basically a unique, private password. When you give this key to OBS, you're telling Facebook, "The video feed coming from this software is legit—let it broadcast on my Page."
Here’s how you find and use it:
- First, head over to Facebook’s Live Producer on your desktop.
- When it asks for your video source, choose "Streaming Software."
- Look for the "Streaming Software Setup" section. You'll see your unique Stream Key there. Go ahead and copy it immediately.
- Now, pop over to OBS. Go to
Settings > Stream. - Select "Facebook Live" from the service dropdown menu and paste your key right into the "Stream Key" field.
That’s it! When you hit "Start Streaming" in OBS, your feed will appear in the Live Producer. You can check that everything looks perfect before you actually click the final "Go Live" button on Facebook.
This process adds a professional layer to the basic Facebook Live workflow.
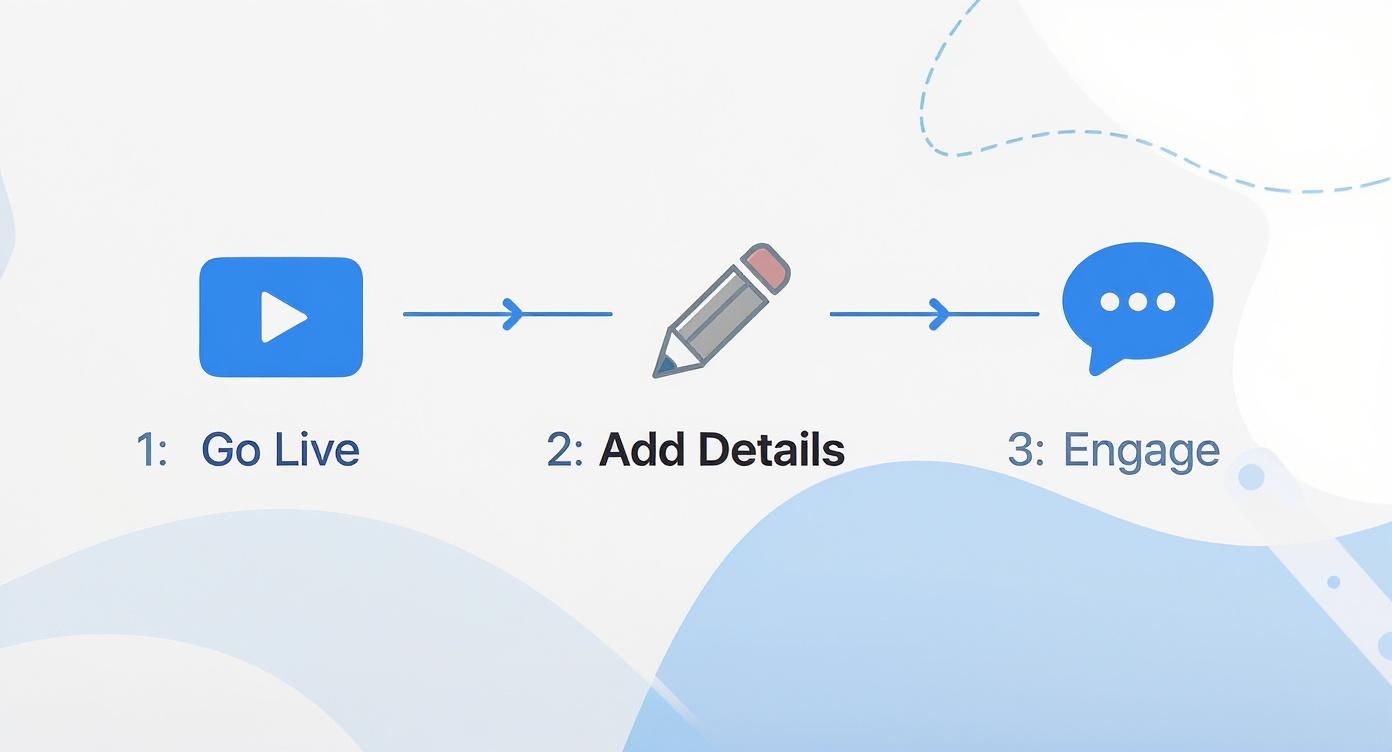
You’re still following the same core steps—Go Live, Add Details, Engage—but OBS gives you complete control over what your audience sees before you ever hit that button.
Building Your Show with Scenes and Sources
The real power of OBS is in its "Scenes" and "Sources" system. A Scene is just a layout of visual elements. For example, you might have one scene for your full-screen camera and another for a picture-in-picture view with your screen share. A Source is any individual element you add to a scene.
This is where you can get really creative. You can pull in all kinds of sources to build dynamic layouts:
- Video Capture Device: This is your good camera—a DSLR or mirrorless cam.
- Display Capture: Perfect for sharing your whole screen during a tutorial.
- Image: Use this to add your logo, a watermark, or lower-third graphics.
- Media Source: Want to play a pre-recorded video clip during your live? This is how.
With Facebook's massive audience, you'd think its live streams dominate, but they're often shorter and more event-focused. In fact, data shows Facebook Live makes up less than 1% of total live stream watch hours worldwide. This makes it even more critical to produce a high-quality broadcast that grabs—and holds—viewer attention.
For creators looking to really boost their production quality, mastering green screen techniques can open up a world of possibilities for creating professional virtual sets. And while OBS is a phenomenal tool, it’s not the only one out there. To see what else is available, check out our guide on the best free live streaming software. Having this kind of flexibility is what truly separates a casual stream from a broadcast your audience won't forget.
Go Live Flawlessly with Pre-Recorded Video
What if you could get the real-time engagement of a live broadcast without the risk of flubbed lines, barking dogs, or a spotty internet connection? That's the beauty of going live with a pre-recorded video, a technique often called "simulive."
This approach is my secret weapon for high-stakes broadcasts where everything has to be perfect. Think about a detailed product demo, a major company announcement, or a complex tutorial. By recording and editing your video first, you guarantee a polished, professional presentation every single time you live stream on fb.
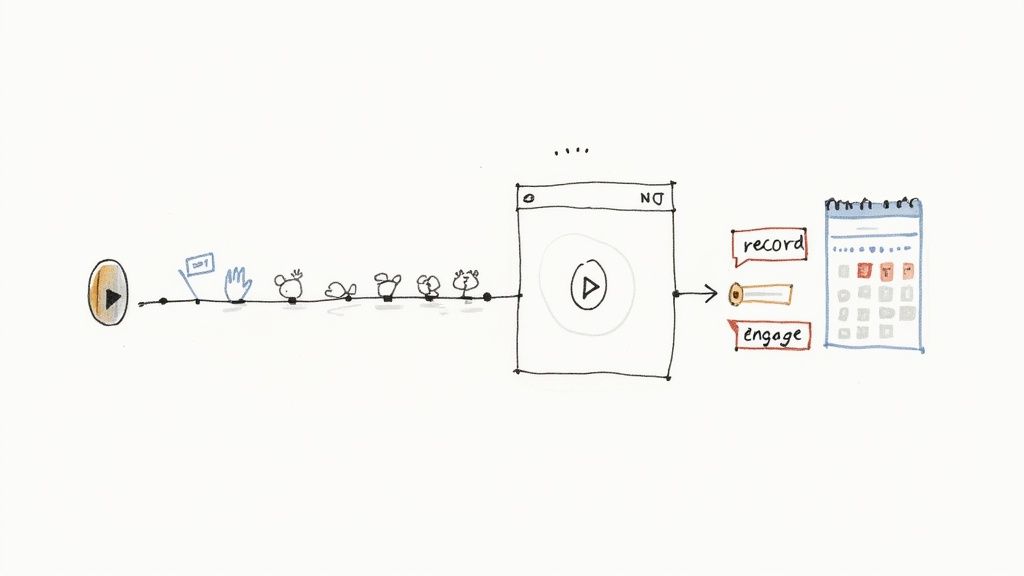
How The "Simulive" Process Works
The workflow is surprisingly straightforward and takes all the technical stress off your shoulders. Instead of worrying about cameras and mics during the event, your only job is to hang out in the comments and engage with your audience.
Here’s how it usually breaks down:
- Record and Edit Your Video: This is your production phase. You can film multiple takes, splice in graphics, add b-roll, and get the audio just right—all without the pressure of a live audience watching.
- Upload Your Final File: Once you're happy with the video, you upload it to a simulive platform or directly into Facebook's Creator Studio.
- Schedule the Broadcast: Pick the exact date and time you want your video to go "live." The platform handles all the backend work, starting the stream automatically for your audience.
- Engage in the Comments: When the broadcast starts, you're free to be in the chat, answering questions and reacting alongside your viewers. This is where you create that authentic, interactive feeling.
This process ensures your message lands exactly as you planned. To build anticipation, you can also learn how to schedule a post on Facebook to promote your upcoming "live" event.
The Real Advantage of This Method
The biggest benefit here is reliability. You completely sidestep the anxiety of a bad Wi-Fi signal or an unexpected interruption derailing your broadcast. That peace of mind is invaluable. It lets you put 100% of your focus on community interaction, which is where the real connection happens.
By broadcasting a pre-recorded video, you create a dual experience. Your audience gets a high-quality, professional presentation, while you provide the live, human connection in the comments section. It's the best of both worlds.
This strategy is also a content repurposing powerhouse. That perfectly edited video can be trimmed into clips for Instagram or TikTok, transcribed for a blog post, or have its audio stripped for a podcast episode. It’s a smart way to make your content work harder for you long after the live event ends.
Your Game Plan for a Flawless Facebook Live
A great live stream on FB doesn’t just happen. It’s the result of smart planning before you start, genuine interaction while you're live, and strategic follow-up after you end the broadcast. I’ve seen people skip these steps, and it almost always ends in chaos. Think of this as your roadmap to making every live stream a success.
When you're prepared, you can stop worrying about the tech and focus on what really matters: connecting with your audience.
Before You Hit “Go Live”
The prep work you do beforehand is what separates a smooth, professional broadcast from a frantic, stressful one. This is your chance to get everything right so you can shine when the camera is on.
- Do a Full Test Run: Don’t just check your internet speed. Go live in a private Facebook Group or set the privacy to "Only Me." This is the only way to see and hear exactly what your audience will. You’ll catch weird audio echoes, bad lighting, or awkward camera angles before it's too late.
- Promote It Like an Event: Don't just go live out of the blue. Schedule your stream a few days in advance. This automatically creates an announcement post that lets people sign up for a reminder. Share that link everywhere—your email list, other social channels, your personal profile. Build some buzz!
- Outline Your Talking Points: You don't need a word-for-word script (that can sound robotic), but you absolutely need an outline. Jot down your key points, any questions you want to ask the audience, and your main call to action. This will save you from those awkward, rambling pauses.
Your internet connection is the one thing that can kill a great stream instantly. Always run a speed test before you start. You're looking for an upload speed of at least 5-10 Mbps for a solid 1080p stream. Anything less is asking for trouble.
Before you even think about hitting that button, a quick technical run-through can save you from major headaches. I've put together a simple checklist to make sure all your bases are covered.
Your Pre-Stream Technical Checklist
Ensure a smooth broadcast by running through these essential technical checks before you go live on Facebook.
| Check Item | Why It's Important | Quick Tip |
|---|---|---|
| Internet Upload Speed | A low upload speed is the #1 cause of pixelated, buffering video. | Use a tool like Speedtest.net. Aim for at least 5-10 Mbps for 1080p. If on Wi-Fi, move closer to your router. |
| Audio Quality | Bad audio is more frustrating for viewers than bad video. They will leave. | Do a private test stream and listen back with headphones. Is there an echo? Is your mic too quiet or too loud? An external USB mic is a game-changer. |
| Lighting | Poor lighting makes your stream look unprofessional and can hide your expressions. | The best light source is a large, soft one in front of you (like a window). Avoid having a bright light behind you, as it will turn you into a silhouette. |
| Camera Framing | A poorly framed shot is distracting and can cut off important visuals. | Position your camera at eye level. Use the rule of thirds to frame yourself slightly off-center for a more dynamic look. Tidy up your background! |
| Notifications & Alerts | Unexpected pop-ups or dings from your computer or phone are disruptive. | Turn on "Do Not Disturb" or "Focus Mode" on your devices to silence all notifications during your broadcast. |
Running through this list takes five minutes, but it can make the difference between a frustrating experience and a professional broadcast your audience will love.
During the Broadcast
Once you're live, your focus needs to shift completely to your audience. The magic of live video is the two-way conversation, not a one-way lecture. Your energy sets the tone.
- Acknowledge People as They Arrive: Spend the first minute or two giving shout-outs. A simple, "Hey, Sarah, great to see you joining from London!" makes people feel seen and valued. It turns them from passive lurkers into active participants.
- Repeat Your Key Message: Remember, people will be popping in and out. Every 10 minutes or so, quickly restate the main topic. "For anyone just joining, we're talking about how to plan a flawless Facebook Live. Welcome!" This helps newcomers get up to speed instantly.
- Weave in Your Call to Action (CTA): Don't wait until the very end to plug your product or link. Mention it naturally throughout the stream. For example, "A few people are asking about the checklist I'm using—you can actually download it for free at..."
After the Stream Ends
The moment your broadcast is over, your work isn't done. In fact, a whole new opportunity opens up. That video is now a permanent asset on your Page, and you can squeeze so much more value out of it.
First, dive into your analytics in Creator Studio. What was your peak number of live viewers? What was the average watch time? Where did people engage the most? This data is gold for planning your next live stream on fb.
Now, it's time to repurpose. You’ve already done the hard work of creating the content; repackaging it is the easy part.
- Create Highlight Clips: No one has time to watch an hour-long replay. Find the best 60-90 second nuggets—a great tip, a funny moment, a powerful quote—and turn them into short-form videos for Reels, Shorts, and TikTok.
- Turn It Into a Blog Post: Use a transcription service to get a written version of your stream. With a little editing, you can turn that into a comprehensive blog post and embed the original video right inside.
- Make it an Audio File: Strip the audio from your video and release it as a podcast episode. This is perfect for reaching people who listen to content while driving, working out, or doing chores.
Common Questions About Facebook Live Streaming
Once you start exploring Facebook Live, a few questions always seem to pop up. It doesn't matter if you've been streaming for years or are just firing up your first broadcast; getting clear on the platform's rules and features is what separates a good stream from a great one.
Let's tackle some of the most common things people ask.
First up, how long can you actually stream? If you're using streaming software on a desktop, you've got a generous 8-hour window. But if you're going live straight from the Facebook mobile app, that time is cut in half to 4 hours. For any stream pushing past an hour, make sure you're plugged into a power source and have a rock-solid internet connection—those are non-negotiable.
Monetization and Captions
A big one we hear all the time: can you actually make money doing this? For creators who meet the criteria, the answer is a definite yes. Facebook gives you a few different ways to earn.
- In-Stream Ads: These are short ads that can run during your live videos, much like a commercial break.
- Fan Subscriptions: Your most dedicated fans can sign up for a monthly subscription, getting exclusive perks in return.
- Stars: Think of these as virtual tips. Viewers can buy and send Stars during your stream, and you get a cut of the revenue.
Keep in mind, you have to be eligible for these features. It all depends on things like your follower count and making sure you're following Facebook's rules. The best place to check your status is inside Creator Studio.
What about making your stream accessible? You absolutely can add captions. Facebook has a built-in auto-captioning feature that works surprisingly well. Before you hit that "Go Live" button in Live Producer, pop over to the 'Settings' tab and find 'Viewing.' You'll see an option for 'Auto-Generated Captions.' Flip that on, and you’ve just made your content available to a much broader audience.
Finding the Best Time to Go Live
This is the million-dollar question, isn't it? While you'll see a lot of generic advice suggesting weekday afternoons, the real answer is hiding in your own analytics. The perfect time to go live is simply when your audience is actually online and ready to watch.
The only way to know for sure is to get familiar with your Page Insights. That data doesn't lie—it will show you the exact days and hours your followers are most active, which is a far better guide than any one-size-fits-all recommendation.
Don't be afraid to experiment with different time slots, either. For a much deeper look at this, check out our guide on the best time to go live on Facebook for more detailed strategies. And whatever time you choose, always announce it ahead of time to build some buzz.
If you love the idea of live engagement but aren't so keen on the pressure of a live broadcast, Pre-recorded LiveStream is your answer. Our platform lets you upload a polished, pre-recorded video and schedule it to go live on Facebook, YouTube, and other platforms. You get a perfect, stress-free presentation every single time. Find out more and get your first simulive stream set up at https://prerecordedlivestream.com.