
If you want to stream high-quality gameplay from a console or a dedicated gaming PC, a capture card with OBS is pretty much non-negotiable. Think of it as a bridge: it takes the video feed from your source—say, a PlayStation 5 or your gaming rig—and delivers it to your streaming computer so OBS Studio can send it out to your audience.
Connecting Your Capture Card to OBS
Getting your gear hooked up correctly is the first, and most critical, step. A solid physical connection is your best defense against annoying glitches like a flickering screen or the dreaded "No Signal" error. The exact steps change a bit depending on whether you have an external USB capture card or an internal PCIe card that lives inside your PC case.
Physical Connections for Your Setup
Most people start with an external capture card because they're plug-and-play. The hookup is simple:
- Connect an HDMI cable from the HDMI OUT port on your console or gaming PC to the HDMI IN port on the capture card.
- Run a second HDMI cable from the capture card's HDMI OUT (often labeled "Passthrough") to your main gaming monitor.
- Finally, connect the capture card to your streaming PC with a USB cable. Make sure you plug it into a USB 3.0 port (they're usually blue) to get enough bandwidth for high-resolution video.
Internal PCIe cards are a bit more involved since you have to open up your PC. Once you've installed the card into a free PCIe slot on your motherboard, the cabling is similar. The HDMI cable from your source device goes into the card's HDMI IN port, and if it has a passthrough, that goes to your gaming monitor.
My Two Cents: Double-check your HDMI connections. Plugging your source into the "OUT" port by mistake is the number one reason people see a black screen in OBS. It’s an easy mistake to make when you’re tangled in cables.
To make things clearer, here's a quick rundown of how to approach each type of card.
Quick Setup Guide for Capture Card Types
This table breaks down the initial connection steps and best use cases for both internal and external capture cards.
| Card Type | Connection Interface | Primary Use Case | Key Setup Step in OBS |
|---|---|---|---|
| External | USB 3.0 (or higher) | Console streaming, dual-PC setups, laptops | Connect USB, then add a "Video Capture Device" source. |
| Internal | PCIe | Dedicated streaming PCs, minimal latency setups | Install card in PC, then add a "Video Capture Device" source. |
Following these basic hardware steps ensures that OBS will have a clean signal to work with from the very beginning.
Adding the Card as a Source in OBS
With all the cables in the right place, it's time to tell OBS where to find your gameplay footage.
In the OBS interface, find the "Sources" box (it's usually at the bottom). Click the little "+" icon to add a new source and choose Video Capture Device from the list.
A properties window will pop up. Give your new source a name that makes sense, like "PS5 Gameplay" or "Elgato HD60S," then click OK. In the next window, you'll see a "Device" dropdown menu—click it and select your capture card. If everything is connected correctly, you should instantly see your game feed pop up in the preview.
Don't sweat the resolution or frame rate settings just yet. The goal here is just to confirm that your PC and OBS can see the capture card. Getting this foundational piece right is a huge part of building a professional stream, which is just one component of what you need to stream on Twitch.
This whole process can be boiled down to a few simple actions.
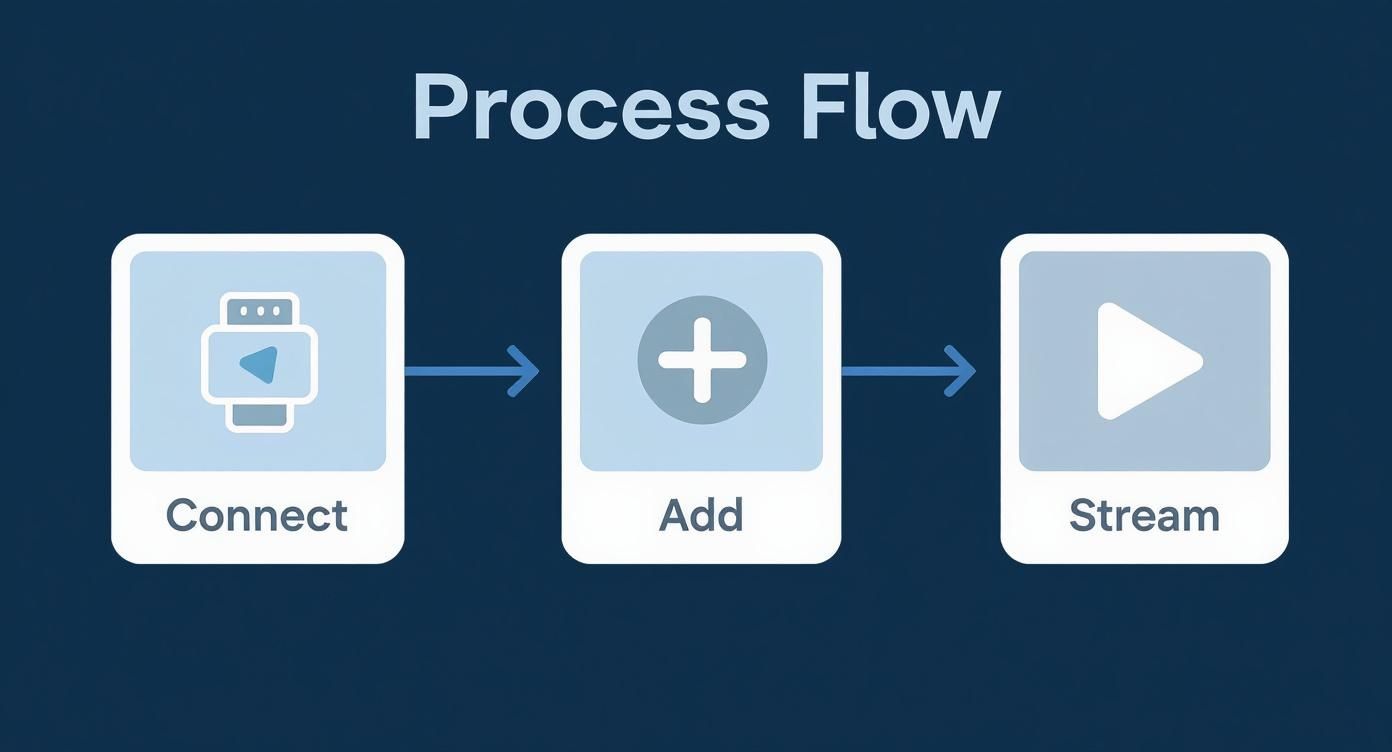
As the diagram shows, it really is as simple as connecting your hardware, adding it as a source, and then you're ready to start building the rest of your stream.
Dialing In Your Video Settings for a Flawless Stream
Alright, OBS can now see your capture card. This is where the real magic happens—turning that raw feed into a polished broadcast. You're about to tell OBS exactly how to handle the video coming from your console or camera, making sure every pixel translates perfectly to your viewers.
To get started, just right-click on your new "Video Capture Device" source and hit Properties. This screen might look a little intimidating at first, but don't worry. We'll walk through the settings that actually matter.
Matching Resolution and Frame Rate
Here's the number one rule: your OBS settings must match your source's output. Mismatched settings are the single biggest cause of those dreaded black bars, a stretched picture, or a stream that looks like a slideshow.
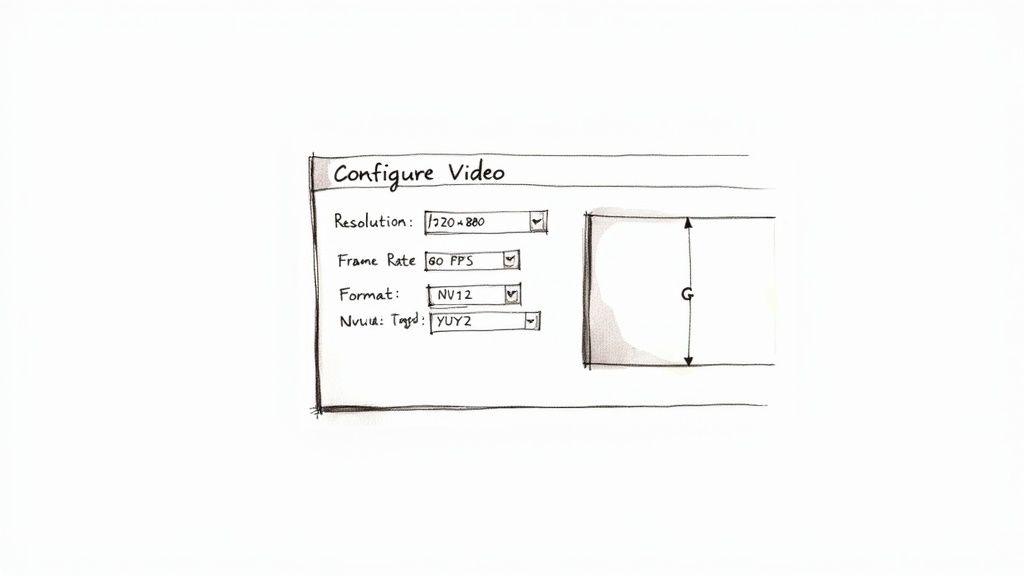
In the Properties window, find the Resolution/FPS Type and immediately change it from "Device Default" to Custom. This is a non-negotiable step that puts you in the driver's seat.
- Resolution: Set this to whatever your source is sending out. If you’re hooking up a PS5 or Xbox Series X, that’s almost always 1920x1080. For a DSLR, you’ll need to double-check the camera’s HDMI output settings in its menu.
- FPS: Match this to your source’s frame rate. For slick, modern console gameplay, you’ll want 60. If you're capturing something that runs at 30 FPS, choose that instead to prevent weird stuttering or duplicated frames.
Taking control here stops OBS from guessing, which can save you a ton of headaches and performance issues later on.
Pro Tip: Always use the "Custom" setting for Resolution/FPS Type. Trusting "Device Default" is a gamble—OBS might misread the signal and lock you into a lower-quality format without you even realizing it.
Understanding Video Formats
If you scroll down a bit, you'll spot an option for Video Format. You'll see some technical-looking codes like NV12 or YUY2. These essentially tell OBS how to handle the color data from your capture card. While the visual difference can be subtle, the performance impact is not.
For pretty much any streaming situation, NV12 is your best friend. It strikes the perfect balance between great visual quality and low CPU usage. It's way more efficient than uncompressed formats like YUY2, which is critical for keeping your stream and game running smoothly, especially if you're doing everything from a single PC.
The demand for this kind of high-quality capture is booming. The video capture card market is actually on track to hit $1 billion by 2030. A huge part of that growth is driven by the demand for full HD 1080p video at 60 FPS, which is now the gold standard for streamers on OBS.
If you’re aiming for a truly professional look, you might even look into gear like the Blackmagic Studio Cameras, which can seriously elevate your production value. Of course, the best camera in the world won't matter if your stream settings aren't right. For more on that, check out our guide on finding the right bitrate for your stream: https://prerecordedlivestream.com/blog/bitrate-for-streaming.html
How to Master Audio Sync and Capture

Having incredible video quality is only half the battle. If your audio is out of sync, even by a few milliseconds, your audience will notice it instantly. It's probably the single most common headache when setting up a capture card OBS workflow, but the good news is, it's completely fixable.
So, what causes this? It all comes down to processing delay. Your computer often takes a fraction of a second longer to process the heavy video data from your capture card than it does to process the much simpler audio signal. This creates that jarring effect where you hear a sound before you see the action that caused it on screen.
Correcting Audio Drift with Sync Offset
Thankfully, OBS has a fantastic tool built right in to solve this: Sync Offset. You'll find it by heading to your Audio Mixer panel, clicking the little gear icon next to your capture card's audio source, and choosing Advanced Audio Properties.
A new window will pop up. Find your capture card in the list and look for the "Sync Offset (ms)" column. This is where the magic happens. Here you can manually delay the audio in milliseconds until it lines up perfectly with the video.
Since the video is almost always the slower of the two signals, you’ll be entering a positive value. A good starting point is usually somewhere between 150ms to 250ms. But remember, this number is unique to your specific rig—your PC hardware, capture card model, and even your cables can all influence the exact delay you need.
Key Takeaway: Audio sync isn't a one-size-fits-all setting. It's a precise calibration that depends entirely on your hardware. Think of the Sync Offset in OBS as your go-to tool for dialing in that perfect timing.
The Clap Test: A Practical Sync Method
So how do you find that magic number for your setup? The easiest and most reliable method is the good old "clap test." This is perfect if you're capturing a camera, but you can easily adapt it for gameplay by firing a weapon or triggering any loud, distinct in-game sound effect.
- Start a Local Recording: First, just hit the "Start Recording" button in OBS. Don't worry about streaming; you just need a local video file to analyze.
- Do the Action: Stand in front of your camera and clap your hands together sharply one time. Make sure both the motion and the sound are clear. Do it a few times to be safe.
- Analyze Your Footage: Open that recording in any video player that lets you scrub through frame-by-frame. Pinpoint the exact frame where your hands make contact. Now, listen. Did the clap sound happen before your hands touched? If so, your audio is ahead of your video.
- Adjust and Repeat: Jump back into the Sync Offset settings in OBS and add a delay. Start with something like 100ms. Do another quick recording and check it again. Keep tweaking the number in small increments until the thwack of the clap aligns perfectly with the visual of your hands meeting.
Isolate Your Microphone Audio
Here's a pro tip: a common mistake is letting your microphone audio get mixed into your capture card's channel, which can create a weird echo or phasing effect. For the cleanest sound possible, your mic should always be its own dedicated source in OBS, completely separate from your game or console audio.
This level of control is a cornerstone of building the https://prerecordedlivestream.com/blog/best-streaming-set-up.html. And while you're at it, learning the ropes of capturing internal audio from your PC for things like Discord or music can seriously elevate your production value.
By nailing your capture card's sync and properly isolating your microphone, you take full command of your stream's sound, ensuring a much more professional and polished experience for your viewers.
Taming Latency and Boosting Performance
Nothing kills the vibe of a stream faster than latency. That’s the annoying delay between what’s happening in your game and what you see in your OBS preview. Even a tiny bit of lag can make your commentary feel out of sync and interacting with your chat a real chore. Getting this delay as low as possible is crucial for a professional broadcast.
The best tool in your arsenal against latency is HDMI passthrough. Most modern capture cards have this, and it’s a game-changer. It basically splits the video signal—one clean feed goes straight to your gaming monitor with virtually zero delay, while the other goes to your PC for OBS. If you play competitive games, this isn't just nice to have; it's essential for keeping your reaction times sharp.
Tweaking Your OBS Source for Less Lag
You can make some important adjustments right inside OBS. Find your "Video Capture Device" source in the list, right-click it, and head into its Properties. Scroll down a bit, and you'll find an option called "Use buffering (when active)."
This setting can be a double-edged sword. Enabling buffering creates a small time cushion that can smooth out a choppy video feed, but it does so by adding latency.
- When to turn it off: For most solid setups with a decent PC and a quality capture card, you should disable buffering. This gives you the lowest possible delay in your OBS preview, making everything feel snappy and immediate.
- When to turn it on: If you're dealing with video stutters that you just can't fix any other way, enabling buffering can be a last-ditch effort to stabilize the stream. Just know that you're trading smoothness for a bit more lag.
My two cents: I always start with buffering turned off. If the stream runs smoothly, I leave it that way. The reduced latency makes a huge difference, especially when you’re trying to sync your live commentary with what's happening on screen.
Your Hardware Makes a Difference
Let's be real: your gear plays a huge role here. The type of connection your capture card uses is a big one. A card that plugs in via USB 3.0 (or something even faster, like Thunderbolt or PCIe) has a much wider pipe for data than an old USB 2.0 device. That extra bandwidth is key for pushing high-quality 1080p60 video without weird compression artifacts or slowdowns.
Of course, your streaming PC’s CPU and GPU matter, too. If your processor is maxed out trying to encode the stream and process the video from your capture card, you’re going to run into dropped frames and lag. A good graphics card can take the encoding work off the CPU, which helps tremendously.
It's no surprise that the capture card market is blowing up to meet these needs. Streamers are demanding better, faster, and more reliable gear. The PC gaming capture card market is actually projected to grow from $450 million in 2024 to about $1.2 billion by 2033. This boom is all about creating low-latency solutions that work flawlessly with software like OBS. You can read more about the trends in the capture card market on verifiedmarketreports.com if you're curious.
Wrestling with Common Capture Card Problems
Look, even the most dialed-in streaming setup is going to hit a snag eventually. When you’re live, a sudden black screen or crackling audio isn't just a glitch; it's a potential disaster that can derail your entire stream. Getting good at quickly figuring out and fixing these common capture card OBS issues is a skill every streamer needs to learn.
Let's walk through some of the most frequent headaches and how to get your stream back up and running.
The most notorious problem of them all is the "No Signal" error or that dreaded black screen in your OBS preview. This isn't just one problem; it's a symptom that can point to a few different culprits. Before you start pulling your hair out, take a breath and run through a quick mental checklist. Is it something simple like a cable? A pesky HDCP issue? Or is OBS just not set up right?
Figuring Out a Black Screen or No Signal
When that black screen appears, you need to work through the possible fixes methodically. I always start with the easiest, most obvious stuff first, because honestly, that’s usually where the problem lies.
- Check Your Plugs: This sounds basic, but you'd be surprised how often it's the cause. Make sure your HDMI cables are firmly seated in the correct IN and OUT ports on your capture card. Swapping these is probably the number one reason for a "No Signal" error.
- Kill the HDCP: If you're streaming from a console like a PlayStation 5, it has a feature called HDCP (High-bandwidth Digital Content Protection) turned on by default. You have to go into your console's system settings and turn this off. The capture card simply can't see the signal until you do.
- Match Your Resolution and FPS: Dive into the Video Capture Device properties in OBS. Set the resolution and FPS to Custom and make sure they perfectly match what your console or gaming PC is sending out (e.g., 1920x1080 at 60 FPS). A mismatch here will often just give you a black screen.
- Give it Good Power: Your capture card is thirsty for both power and data bandwidth. Always plug it directly into a USB 3.0 port on your motherboard. Avoid using a USB hub, especially an unpowered one, as it often can't provide the stable connection the card needs.
Stamping Out Audio Crackles and Stutters
Nothing will make viewers click away faster than terrible audio. If you’re hearing pops, crackles, or stuttering, the problem is almost always a mismatch in audio sample rates or a wonky driver.
First, check that your capture card's audio properties in Windows and your OBS audio settings are set to the exact same sample rate. The standard is 48 kHz. If they don't match, your computer tries to resample the audio in real-time, which is a recipe for glitches.
If that doesn't solve it, try a clean reinstall of your capture card's drivers. This can clear up hidden software conflicts that are messing with your audio feed.
My Two Cents: After years of doing this, I can tell you that most capture card headaches boil down to one of three things: physical connections (cables), content protection (HDCP), or software settings (OBS/drivers). If you troubleshoot those three areas systematically, you’ll solve over 90% of the issues you'll ever run into.
As more people get into content creation, the demand for reliable gear just keeps climbing. It's a big market—the global video capture card space was valued at around $500 million in 2025 and is only getting bigger. If you're interested in the numbers, you can find more data on the video capture card market on archivemarketresearch.com and see how manufacturers are trying to solve these very challenges.
Answering Your Capture Card & OBS Questions
Even when you follow the steps perfectly, you're bound to run into a few quirks. I've been there. Let's run through some of the most common questions and roadblocks I see people hit when they first connect a capture card to OBS Studio.
Do I Really Need a Capture Card for My Single PC Stream?
Honestly, it depends on what you're trying to capture. If you’re just streaming a game running on the same PC as OBS, then no, you don't need one. OBS is perfectly capable of grabbing that game window directly, and your graphics card handles the encoding.
But the moment you want to bring in an outside video source, a capture card becomes non-negotiable. It’s the bridge between that external device and your computer. You'll absolutely need one for situations like these:
- Console Gaming: This is the big one. If you want to stream your PlayStation, Xbox, or Nintendo Switch gameplay, a capture card is essential.
- A Better Webcam: To get that crisp, professional look using a DSLR or mirrorless camera, you need a capture card to translate its clean HDMI output into a source OBS can use.
- Dual-PC Streaming: In a two-computer setup, the capture card is the critical link that gets the video from your gaming rig over to your dedicated streaming PC.
Think of it this way: if the video isn't being created on the PC running OBS, you need a capture card to get it there.
Help! My Capture Card's Audio Is Out of Sync
Ah, the classic audio-arrives-early problem. Don't worry, this is almost always caused by video processing delay. Your computer can process the audio signal much faster than the complex video feed from the capture card, so you hear things before you see them.
The fix is right inside OBS. Go to your Audio Mixer, right-click on the capture card's audio source, and select Advanced Audio Properties. You’ll see a Sync Offset box. Start by entering a value like 200ms. This tells OBS to delay the audio just a tiny bit, giving the video a chance to catch up. You might need to tweak this number up or down a little until it looks and sounds perfect.
Why Does OBS Just Show a "No Signal" Error?
Seeing that "No Signal" screen is frustrating, but the cause is usually one of three simple things. I've made all these mistakes myself.
First, check your HDMI cables. It sounds basic, but it’s incredibly easy to accidentally plug your console into the OUT port instead of the IN port. Make sure your source (console/camera) goes to IN and your TV/monitor goes to OUT.
Next, if you're trying to capture a console like a PS4 or PS5, you have to turn off HDCP. This is a copy-protection setting found deep in the console's system menu. It's enabled by default and will actively block your capture card from seeing the signal.
Finally, check your USB connection. That capture card needs a lot of data bandwidth. Make sure it's plugged directly into a USB 3.0 port (they're usually blue) on your computer, not an older USB 2.0 port or a cheap, unpowered USB hub. Not enough power or speed is a very common reason for a signal to drop.
Ready to broadcast your pre-recorded videos with the reliability of a live event? With Pre-recorded LiveStream, you can schedule flawless, high-quality streams to all your favorite platforms without the stress of going live. Perfect your content in advance and let our cloud-based platform handle the rest. Discover how Pre-recorded LiveStream can elevate your content strategy today.