How to Convert MP4 to H.264 (FFmpeg and HandBrake)
To convert an MP4 to H.264, re-encode its video track with an H.264 encoder: libx264 in FFmpeg, or "H.264 (x264)" in HandBrake. MP4 is only the container, so first check what codec is inside. If the video is already H.264, you may not need to convert at all.
This guide shows how to check the file, the FFmpeg commands (each one tested on a real file), the HandBrake settings, and the settings to use when the video is for a scheduled live stream.
MP4 and H.264 are different things
An MP4 file is a container. It holds a video track, one or more audio tracks and some metadata. H.264 (also called AVC) is a codec: the method used to compress the video track inside the container.
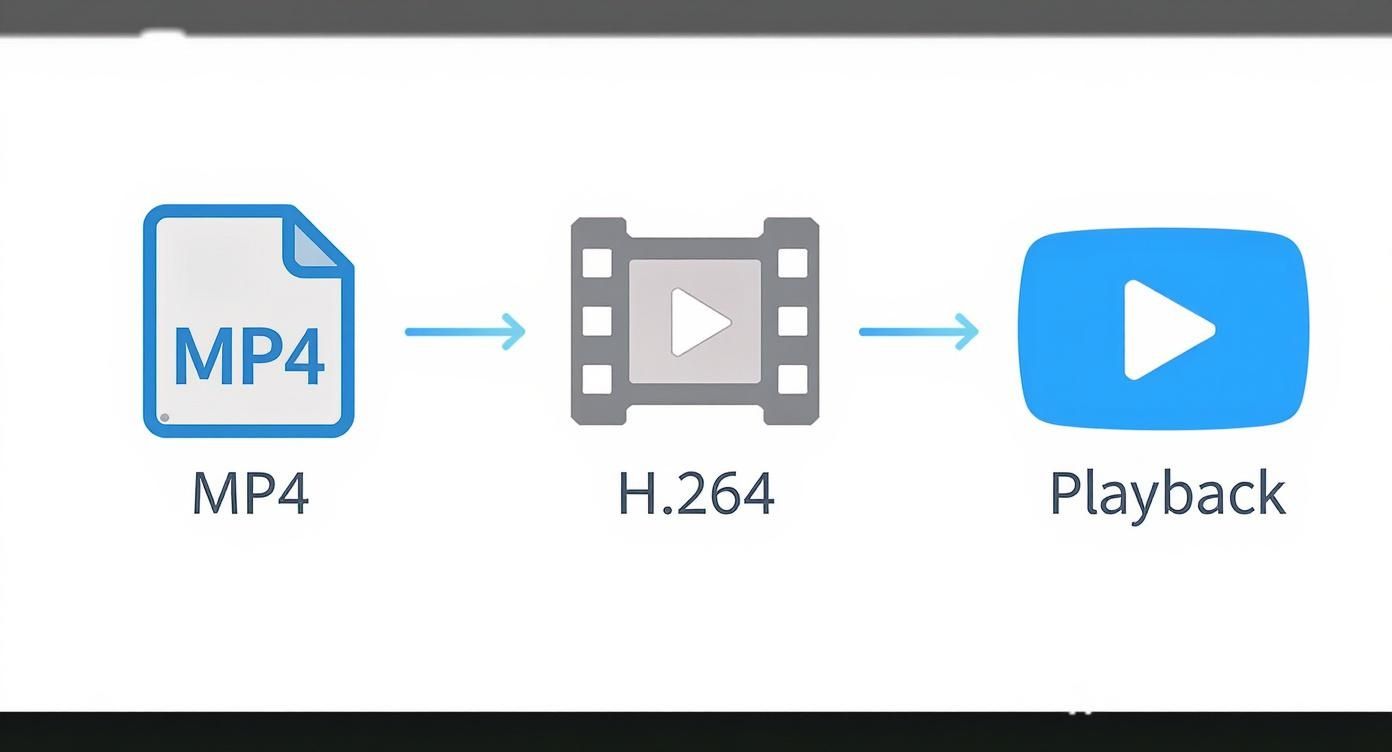
| MP4 | H.264 | |
|---|---|---|
| Type | Container | Codec |
| Job | Holds video, audio and metadata in one file | Compresses the video |
| Alternatives | MOV, MKV, WebM | HEVC, AV1, VP9 |
An MP4 can hold H.265, AV1 or H.264 video. That is why two MP4 files can behave differently: one plays everywhere, the other shows a black screen or is rejected by a platform. H.264 is the one video codec that YouTube, Facebook, Twitch and LinkedIn all list for live streams, and Facebook's live requirements accept H.264 only.
Check the file before you convert
Drop the file into the video pre-flight checker. It reads the codec, profile, H.264 level, bitrate and audio format in your browser, without uploading the file, and says whether YouTube, Facebook and Twitch would accept it.
If you have FFmpeg installed, this command prints the same facts:
ffprobe -v error -show_entries stream=codec_name,profile,level,pix_fmt,r_frame_rate -of compact input.mp4
You need to convert when the checker or ffprobe shows one of these:
- Codec
hevc,av1orvp9. Common in phone recordings. iPhones record HEVC when Settings > Camera > Formats is set to High Efficiency. - Profile
High 10or pixel formatyuv420p10le. This is 10-bit H.264. Many browsers and hardware decoders cannot play it. - A file too large for an upload limit. Re-encoding at a lower bitrate makes it smaller.
If the video is already 8-bit H.264 and only the container is wrong (for example MKV or MOV), you do not need to re-encode. Change the container instead; see the remux command below.
A service that re-encodes uploads may not need a conversion either. Pre-recorded Live Stream re-encodes every upload on its servers, so MP4, MOV, MKV, AVI and WebM files all work. Converting still helps when the file is too big or when you want to check exactly what viewers will get.
Convert MP4 to H.264 with FFmpeg
FFmpeg is a free command-line tool for Windows, macOS and Linux. This command converts any input to an MP4 with H.264 video and AAC audio:
ffmpeg -i input.mov -c:v libx264 -crf 20 -preset medium -pix_fmt yuv420p -c:a aac -b:a 128k -movflags +faststart output.mp4
What each part does:
| Option | What it does |
|---|---|
-c:v libx264 |
Encodes the video with x264, the standard H.264 encoder. |
-crf 20 |
Sets constant quality. Lower means better quality and a bigger file. The default is 23. |
-preset medium |
Sets encoding speed. Slower presets make a smaller file at the same quality. medium is the default. |
-pix_fmt yuv420p |
Forces 8-bit color. Without it, a 10-bit source (such as HDR phone video) comes out as High 10 profile, which many players cannot play. |
-c:a aac -b:a 128k |
Encodes audio as AAC at 128 kbps. |
-movflags +faststart |
Moves the file index to the start, so playback can begin before the whole file loads. |
For 1080p, a CRF of 18 to 22 keeps the picture visually close to the source. Use the lower end if the video has fine detail or fast motion.
Keep the audio as it is
If the audio is already AAC, copy it instead of encoding it again. This is faster and keeps the original quality:
ffmpeg -i input.mp4 -c:v libx264 -crf 20 -pix_fmt yuv420p -c:a copy -movflags +faststart output.mp4
Change only the container
If the video is already H.264 and the audio is AAC, copy both tracks into a new MP4. This takes seconds and changes nothing in the picture:
ffmpeg -i input.mkv -c copy -movflags +faststart output.mp4
Make the file fit a size limit
To hit a file size, choose an average bitrate and use two passes. Bitrate in kbps = target size in megabits ÷ length in seconds, minus the audio bitrate. For a 1-hour video that must stay under 4 GB: 32,000 Mb ÷ 3,600 s ≈ 8,900 kbps total, so about 8,500 kbps of video leaves room for 128 kbps audio and container overhead.
ffmpeg -y -i input.mp4 -c:v libx264 -b:v 8500k -preset medium -pix_fmt yuv420p -pass 1 -an -f null /dev/null
ffmpeg -i input.mp4 -c:v libx264 -b:v 8500k -preset medium -pix_fmt yuv420p -pass 2 -c:a aac -b:a 128k -movflags +faststart output.mp4
On Windows, replace /dev/null with NUL.
Convert a whole folder
On macOS or Linux, save this as convert.sh in the folder with your videos and run bash convert.sh. It writes the converted files to a converted folder:
mkdir -p converted
for f in *.mp4; do
  ffmpeg -i "$f" -c:v libx264 -crf 20 -preset medium -pix_fmt yuv420p -c:a aac -b:a 128k -movflags +faststart "converted/${f%.*}.mp4"
done
On Windows, save this as convert.bat in the same kind of folder and double-click it:
mkdir converted
for %%f in (*.mp4) do ffmpeg -i "%%f" -c:v libx264 -crf 20 -preset medium -pix_fmt yuv420p -c:a aac -b:a 128k -movflags +faststart "converted\%%~nf.mp4"
pause
Convert MP4 to H.264 with HandBrake
HandBrake is a free desktop app with the same x264 encoder behind a visual interface.
- Open HandBrake and drag your video into the window.
- In Preset, choose General > Fast 1080p30 or HQ 1080p30 Surround for a 1080p source. Both use H.264.
- On the Summary tab, set Format to MP4 and tick Web Optimized. This does the same job as
+faststart. - On the Video tab, set Video Encoder to H.264 (x264). Do not pick "H.264 10-bit (x264)".
- Set Framerate to Same as source and select Constant Framerate.
- Set Constant Quality to RF 20 to 24 for 1080p. HandBrake's own guide recommends this range; lower RF means higher quality.
- On the Audio tab, choose AAC at 128 or 160 kbps, or choose a passthru option if the source audio is already AAC.
- Click Start Encode.
To convert several files, set up the first one, click Add to Queue, open the next file (HandBrake keeps your settings), add it too, then click Start Queue.
What about online converters?
An online converter uploads your file to someone else's server. That is fine for a short clip with nothing private in it. For a client video, an unreleased launch or a long webinar recording, use FFmpeg or HandBrake: they run on your computer, have no file size limit and add no watermark.
Settings for a video you will stream as live
If the file is for a scheduled pre-recorded stream, these settings work on every major platform:
| Setting | Value |
|---|---|
| Container | MP4 |
| Video codec | H.264, High profile, 8-bit (yuv420p) |
| Resolution | The resolution you will stream, usually 1080p |
| Frame rate | Same as the recording, constant |
| Quality | CRF or RF 18 to 22, or a bitrate that fits your upload limit |
| Audio | AAC, 48 kHz, stereo, 128 to 192 kbps |
| Fast start | On |
If a tool streams your file to the platform without re-encoding it, the file must also meet the live ingest rules: a keyframe every 2 seconds and a constant bitrate. For a 30 fps video, add -g 60 -keyint_min 60 -sc_threshold 0 for 2-second keyframes, and -b:v 6000k -maxrate 6000k -bufsize 12000k in place of -crf 20 for a steady 6,000 kbps. The bitrate guide lists the numbers for each platform.
Common problems
The colors look washed out after conversion
This usually means the source was HDR (HLG or Dolby Vision, common on iPhones) and the conversion to standard 8-bit video did not map the colors. The simplest fix is to export an SDR version from your video editor. To avoid HDR at the source, turn off HDR Video in the iPhone's Settings > Camera > Record Video.
Will I lose quality?
Every re-encode discards some data. At CRF 18 to 22 the loss is hard to see, but it adds up if you convert the same file several times. Export once from your editor at high quality, and convert from that master file, not from an earlier conversion.
The file plays on my computer but not in the browser
Check the profile. A High 10 or HEVC file plays in some desktop players and fails in many browsers. Convert with -pix_fmt yuv420p as shown above. To test a file that is already online, paste its URL into the MP4 player and checker.
For how codecs, containers and bitrate fit together, read what video encoding is. When the file is ready, this guide to recorded live streams covers scheduling it.