It's a common point of confusion: people often use "MP4" and "H.264" interchangeably. In reality, they're two different things that work together. Think of an MP4 file as a box. H.264 is the method used to compress the video that goes inside that box.
So, when we talk about converting an MP4 to H.264, we're really talking about re-encoding the video stream inside your MP4 container to make sure it uses the H.264 standard. This one step can be the difference between a video that plays everywhere and one that throws up an error message.
H.264 is Still King for a Reason
You've got your final video exported as an MP4, but will it play seamlessly on your smart TV, a client’s computer, or a social media platform? The answer is... maybe. An MP4 container is flexible; it can hold video encoded with all sorts of codecs, like the newer H.265 (HEVC), the royalty-free AV1, or the old reliable, H.264 (also known as AVC).
The trouble starts when a playback device or platform doesn't recognize the specific codec you've used. For example, that fancy new H.265 export might look great, but it won't play on an older device, leaving your audience with a black screen. This is exactly why intentionally encoding with H.264 is still a non-negotiable step for most content creators.
Before we dive deeper, let's clear up the core distinction with a quick table.
MP4 Container vs H.264 Codec At a Glance
| Concept | MP4 (MPEG-4 Part 14) | H.264 (AVC) |
|---|---|---|
| Role | A digital container or "wrapper" file format. | A video compression standard (codec). |
| Function | Holds video, audio, subtitles, and metadata together in one file. | Encodes (compresses) and decodes (plays) the actual video data. |
| Analogy | A shipping box. | The specific way items are folded and packed inside the box. |
Ultimately, the MP4 container tells a device what's inside, while the H.264 codec is the language the video itself is speaking.
Compatibility is Your Top Priority
H.264 hit the sweet spot. It delivers impressive video quality at file sizes that don't clog up your internet connection, all while being supported by virtually every device and platform on the planet. This blend of efficiency and compatibility is what made it the undisputed champion of web video for over a decade.
While newer codecs boast better compression, H.264 is the video world's "lingua franca." It’s the one format you can count on to work almost anywhere, making it the safest and most professional choice for widespread distribution.
This universal support is crucial for anyone who needs their content to be seen. Major platforms like YouTube and Facebook, along with streaming protocols like HLS, were built with H.264 in mind. By sticking with it, you guarantee a smooth playback experience for the widest possible audience. You can learn more about how HLS streaming relies on this compatibility in our detailed guide.
Why the Market Still Banks on H.264
Even with 4K and 8K content becoming more common, H.264 isn't going anywhere. Its massive adoption was fueled by that perfect mix of quality and widespread support.
The numbers back this up. The global video codecs market was valued at $2.2 billion in 2025 and is projected to climb to $3.1 billion by 2033. According to insights from StreamingMedia.com, H.264 remains a dominant force, especially for any website or service not focused exclusively on premium 4K delivery. It's a foundational technology that the digital world still heavily relies on.
Getting Your Hands Dirty with FFmpeg
If you're serious about video and want total control, there's really only one tool for the job: FFmpeg. Forget graphical interfaces and sliders—FFmpeg is a command-line powerhouse that lets you automate and fine-tune every single aspect of your video conversion. It might look intimidating at first, but once you learn a few commands, you'll see why it's the industry standard for everything from Hollywood post-production to massive streaming platforms.
The whole point is to take an MP4 file, which is just a container, and make sure the video inside it is encoded with H.264. This ensures it'll play on virtually any device, browser, or platform without a hiccup.
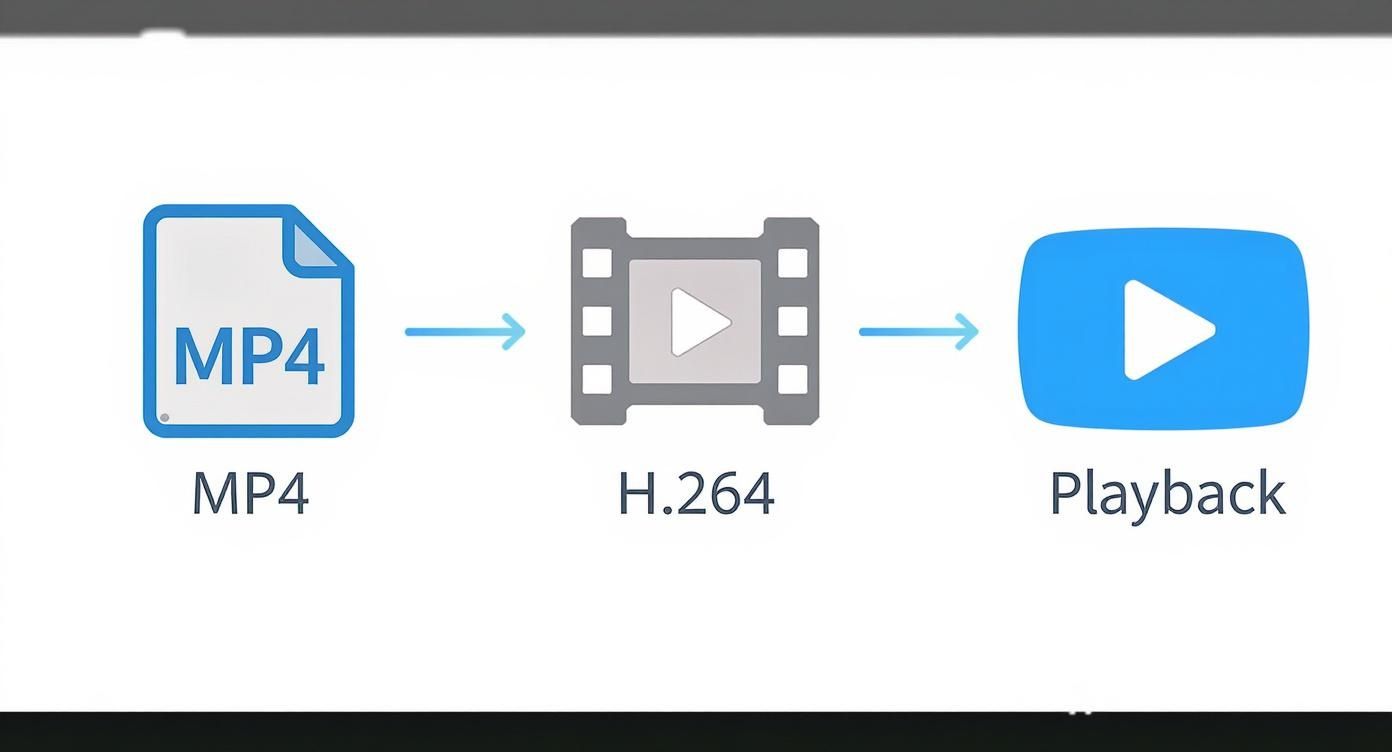
This diagram shows the basic idea: you feed your MP4 into the process, and out comes a universally compatible H.264 stream, neatly packaged in a new MP4.
Your First FFmpeg Conversion
Let's dive right in. The simplest command you can run tells FFmpeg to take your input file and re-encode it using libx264, which is the best H.264 encoder out there.
Open your terminal or command prompt and type this:
ffmpeg -i input.mp4 -c:v libx264 output.mp4
That’s it. This command works, but it's not very smart about quality. FFmpeg will use its default settings, which might be fine, but we can do better.
A much better approach is to use the Constant Rate Factor (CRF). Instead of telling FFmpeg to hit a specific bitrate, you tell it what quality level you want to achieve. It then uses whatever bitrate is necessary to maintain that quality throughout the video.
For web video, a CRF value between 18 and 22 is the sweet spot. Lower numbers mean higher quality and bigger files. The default is
23, which is a solid starting point.
Let's try a more practical command using a CRF of 20 for high-quality output:
ffmpeg -i input.mp4 -c:v libx264 -crf 20 output.mp4
This one line gives you a professional-grade file ready for YouTube or Twitch. Getting your encoding right is a massive part of streaming, something we cover in depth in our guide on what you need to stream on Twitch. Proper video settings are absolutely crucial for a stable, high-quality broadcast.
Putting It on Autopilot with Batch Scripts
Here's where FFmpeg really flexes its muscles. If you have a folder full of videos to convert, doing them one by one is a nightmare. A simple script can automate the entire process.
For Windows Users (Batch File):
Fire up Notepad and create a file in the same folder as your videos. Name it convert.bat (not .txt!). Paste this code inside:
mkdir converted
for %%f in (*.mp4) do ffmpeg -i "%%f" -c:v libx264 -crf 22 "converted%%~nf.mp4"
pause
Save it, and then just double-click the convert.bat file. It will create a new "converted" folder and start chugging through every single MP4 file, dropping the newly encoded versions inside.
For macOS/Linux Users (Shell Script):
The process is very similar. Create a file named convert.sh and add this script:
mkdir converted
for f in .mp4; do
ffmpeg -i "$f" -c:v libx264 -crf 22 "converted/${f%.}.mp4"
done
To run it, open your terminal, navigate to the folder, and type bash convert.sh. Just like the Windows version, it will create a "converted" directory and process all your files. This is your first step toward building a completely automated video workflow.
A Visual Guide to Converting with HandBrake
If staring at a command line isn't your idea of a good time, HandBrake is your new best friend. It's a free, open-source powerhouse that wraps a professional-grade video encoder in a clean, intuitive interface. For anyone looking to convert MP4 to H.264 without memorizing a single command, this is the way to go.
What makes HandBrake so great, especially for beginners, is its library of built-in presets. These presets take the guesswork out of encoding by giving you optimized settings for specific platforms like YouTube or Vimeo right out of the box. Of course, it still offers all the deep customization an expert would want.
Here’s a look at the main dashboard, which lays everything out cleanly for a smooth conversion workflow.
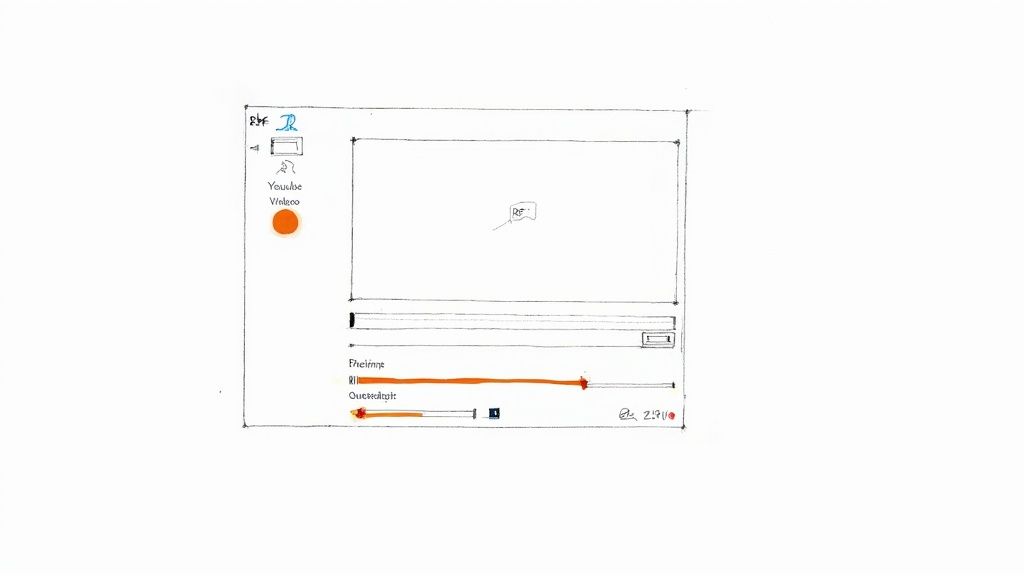
As you can see, the layout is straightforward. The most important settings are organized into tabs—Summary, Dimensions, Video, Audio—and the preset panel on the right is ready for one-click selections.
Choosing Your Starting Point
After you’ve opened your source MP4 file, your first move should be to pick a preset. Think of this as your foundational template.
- For General Use: The "Fast 1080p30" or "HQ 1080p30 Surround" presets are fantastic all-rounders. They strike a great balance between quality and file size.
- For Web Platforms: Dive into the "Web" category. You'll find presets specifically tuned for YouTube, Vimeo, and even Discord, ensuring your video meets their technical specs.
The good news is that these presets automatically set the video encoder to H.264 (x264), which is exactly what we need. From here, we can start tweaking.
A personal tip: I almost always start with a slightly modified "Vimeo YouTube HQ 1080p60" preset for web content. It delivers a crisp, professional-looking video that works everywhere. I just adjust the quality slider a bit depending on the project.
Mastering the Constant Quality Slider
The single most important setting you’ll be working with is under the "Video" tab. It's the Constant Quality slider, which HandBrake labels as RF (Rate Factor). This is the direct equivalent of the CRF value in FFmpeg. You’re not targeting a specific bitrate; you're telling the encoder what level of visual quality you want to maintain.
Here's the breakdown:
- An RF value of 18-22 is the sweet spot for high-quality web video.
- Lower numbers (like RF 18) mean higher quality and a larger file.
- Higher numbers (like RF 24) mean lower quality but a smaller file.
For a final upload to YouTube, an RF of 20 is a very safe starting point. It locks in excellent detail without bloating the file size.
Queueing Up for Batch Conversions
One of HandBrake’s killer features is its ability to batch-process files. If you have a whole folder of gameplay clips or B-roll footage to convert, you don't need to babysit the process.
It’s a simple workflow:
- Load your first video and dial in all your settings—preset, quality, audio, and anything else.
- Instead of hitting "Start Encode," click the "Add to Queue" button.
- Now, open your next source file. HandBrake cleverly remembers the settings you just used.
- Give them a quick once-over to confirm, then click "Add to Queue" again.
- Keep doing this for every video in your batch.
Once you’ve added all your files, just click "Start Queue." You can literally walk away and let HandBrake chew through the entire list. I often set up a big batch to run overnight, and in the morning, I have a folder full of perfectly encoded H.264 files ready to go.
Choosing and Using Online Converters Safely
When you're in a bind and just need to convert one small file, a browser-based tool can feel like the perfect solution. The drag-and-drop simplicity of an online converter is tempting, especially for a quick MP4 to H.264 job. But that convenience often comes with strings attached—risks that aren't immediately apparent.
The moment you upload your video, you’re handing over control to a third-party server. For sensitive client work or unreleased content, that's a huge gamble. What happens to your file after the conversion is done? Does the service keep a copy? Is it being scanned for data? The reality is that many free online tools are funded by ads or data harvesting, which means your content might just be the product.
The Hidden Costs of "Free" Converters
Beyond the big-picture privacy concerns, you'll often run into practical headaches that can completely stall your project. It's best to know what you're getting into before you waste your time uploading a critical file.
- Surprise Watermarks: Nothing is more frustrating than waiting for a conversion to finish, only to find the service has slapped its logo all over your video. This is a common tactic to push you toward a paid subscription.
- Restrictive File Size Limits: Most free platforms won't let you upload anything bigger than a few hundred megabytes. That's a non-starter for the high-resolution, high-bitrate files that streamers and creators typically handle.
- Painfully Slow Speeds: Your "quick" conversion can easily get stuck in a long processing queue behind other users. Many services also intentionally throttle speeds for free users to make their premium plans look more attractive.
A good rule of thumb: with free online services, you’re usually paying in other ways—with your time, your data, or the final quality of your work. For any project that matters, sticking with desktop software like FFmpeg or HandBrake is always the smarter, safer choice.
This widespread need for conversion tools is a direct result of H.264's dominance. Its near-universal compatibility has made it an industry staple. In fact, the global video transcoding market, which is built around workflows like converting MP4 to H.264, was valued at $2.5 billion in 2025 and continues to expand. This growth is driven by the insatiable demand for high-quality streaming, where H.264’s balance of quality and file size is crucial. You can discover more insights on the video encoder market to see just how big this space has become.
How to Spot a Trustworthy Online Tool
If you absolutely have to use an online converter for a low-stakes, non-confidential clip, take a minute to vet the service. A professional-looking site with clear policies is a good start.
Here's a quick checklist for picking a better option:
- Look for a Clear Privacy Policy: A reputable service will tell you upfront that your files are automatically deleted from their servers within a few hours. If you can't find that policy, it's safest to assume they keep your data.
- See if an Account is Required: The most straightforward tools don't force you to sign up. Requiring an account is often just a way to gather your information for marketing purposes.
- Check for HTTPS Encryption: Make sure you see the little padlock icon in your browser's address bar. This confirms your connection is secure, which protects your file from being intercepted during the upload.
At the end of the day, think of online converters as a tool of last resort. They’re fine for small, impersonal clips where speed, quality, and privacy aren't your main concerns. For everything else, the power, security, and control you get with desktop software is simply unbeatable.
Nail Your Settings for a Flawless H.264 Encode
Let’s be honest, hitting "Export" with the default settings is a gamble. Getting your settings right when you convert MP4 to H.264 is what separates a crisp, professional-looking stream from a pixelated mess. The defaults might be okay in a pinch, but they rarely deliver that sweet spot between amazing quality and a manageable file size.
This is especially true for platforms like YouTube or Twitch, which will re-compress your video no matter what. To get professional results, it's time to ditch the old target bitrate mindset and start thinking in terms of quality. This ensures your video looks consistently great, whether it’s a chaotic action scene or a simple talking-head segment.
Forget Bitrate—Embrace Constant Rate Factor (CRF)
The single most important setting you need to know for H.264 is the Constant Rate Factor (CRF). You might also see it called Constant Quality (CQ) in some software. Instead of telling the encoder to stick to a rigid data budget per second (bitrate), CRF lets you define the visual quality you want to achieve.
The encoder then works its magic, intelligently giving more data to complex, fast-moving scenes and less to static ones. It's a much smarter way to work.
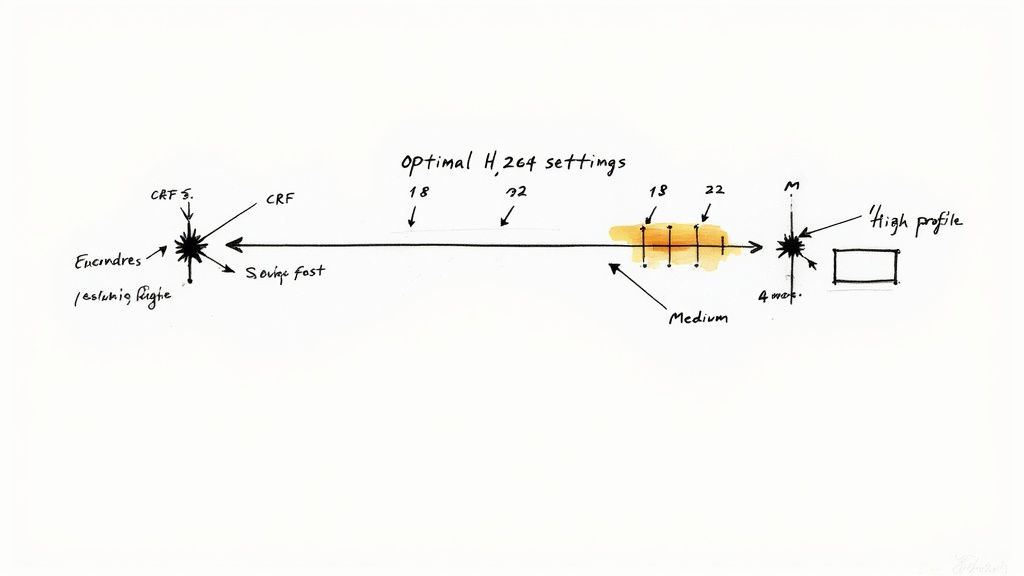
For most HD video intended for the web, a CRF value between 18 and 22 is the gold standard.
- CRF 18: This is practically indistinguishable from the original source. It’s perfect for archiving master files but expect very large file sizes.
- CRF 20: An excellent middle ground for high-quality YouTube uploads where you want to preserve every last bit of detail.
- CRF 22: My go-to for a great all-rounder. You get fantastic quality with a much more reasonable file size.
Adopting this quality-first approach is key to creating content that looks sharp everywhere. For a deeper dive into the relationship between quality, file size, and data rates, check out our complete guide to choosing the best bitrate for streaming.
Fine-Tuning With Preset and Profile
Right next to CRF, you'll usually find settings for "Preset" and "Profile." These two are all about balancing encoding time with efficiency and compatibility.
The Preset basically controls how much effort the encoder puts into compressing your video. A slower preset (like slow or slower) will produce a smaller file for the same CRF value, but it's going to take a lot more time to finish. The medium preset is almost always a safe bet, offering a solid balance of speed and file size.
Your Profile determines which H.264 features are used. For any modern HD video, you should pretty much always use the 'High' profile. It unlocks advanced compression tricks that give you better quality at lower bitrates and is supported by virtually every modern device and platform out there.
Of course, a great encode starts with a great edit. Learning how to edit videos like a pro will elevate your source material, making the final compression even more effective. When you combine smart editing with optimized encoding settings, you're set up to create truly standout content.
Tackling Common H.264 Conversion Questions
Even with the right tools in hand, converting from MP4 to H.264 can throw a few curveballs your way. Let's walk through some of the questions I see pop up all the time. Getting these details right can save you a ton of headaches down the road.
One of the first things people ask about is the audio. "Do I need to re-encode it?" The good news is, you usually don't. If your source MP4 already uses a common audio codec like AAC, you can just copy it over directly.
This is a huge time-saver. Instead of re-compressing the sound, the tool simply passes the original audio stream through to the new file. You'll find this option called "Audio Passthru" in HandBrake or by using the -c:a copy command in FFmpeg. It’s faster and preserves 100% of the original audio quality.
Will I Lose Quality During the Conversion?
This is the million-dollar question, and the honest answer is a bit nuanced. Yes, technically, any re-encode introduces some data loss. But the real goal is to make that loss completely invisible.
When you use a quality-based setting like CRF (Constant Rate Factor) and stick to a sensible range like 18-22, you're telling the encoder to prioritize visual consistency. For all practical purposes, the final video will look identical to your source, especially since platforms like YouTube or Twitch are going to re-compress it again anyway.
The most important rule? Start with a high-quality master file. You can't create detail that was never there to begin with. Compressing an already low-quality video will just amplify its flaws. Always export from your video editor at the highest possible quality before you even think about H.264 conversion.
Why Does My Final Video Look Darker or Washed Out?
I've been there, and it's incredibly frustrating. This problem almost always comes down to how color space information is handled. Videos have metadata that defines their color range, often called "full" (for PCs) or "limited" (for TVs). If the conversion tool misinterprets this, your colors will look crushed, faded, or just plain wrong.
The fix is to manually specify the color properties to match your original file. You’ll need to dig into the advanced settings and look for a few key things:
- Color Primaries: The exact shades of red, green, and blue. For most HD video, this is BT.709.
- Transfer Characteristics: The gamma curve that controls brightness. Again, usually BT.709.
- Color Space Matrix: The formula for converting color information. You guessed it, also likely BT.709.
Forcing these settings to match your source ensures your colors come out looking exactly how they did in your editor.
When you're ready to skip all the technical hurdles and get your content in front of your audience, Pre-recorded LiveStream handles the heavy lifting for you. Our platform takes care of all the encoding in the cloud. Just upload your video, schedule a time, and go live to all your favorite platforms with a few clicks. Learn more about stress-free simulive streaming.