At its most basic, video encoding is the process of compressing raw video data into a much smaller, more manageable digital format. It’s the critical step that makes it possible to store, share, and stream video over the internet without needing a supercomputer and a fiber-optic cable running directly to your house.
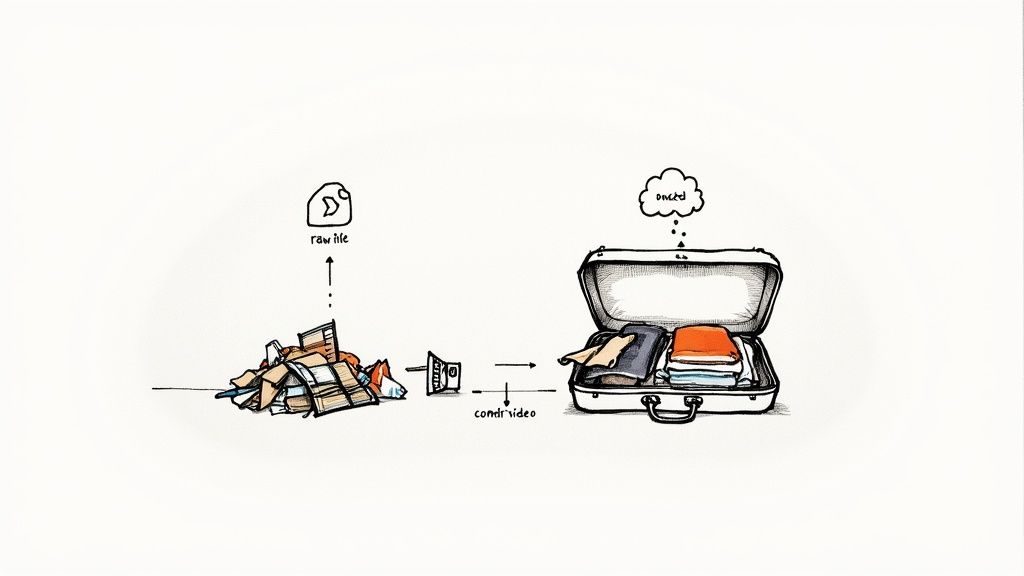
Think of it like packing for a trip. Your raw video file is a mountain of clothes, shoes, and gear scattered all over the floor. Encoding is the art of expertly folding, rolling, and organizing everything to fit neatly into a single suitcase.
Why Video Encoding Is the Engine of Modern Streaming
Imagine trying to email an uncompressed, high-definition movie to a friend. The file would be gigantic—we're talking hundreds of gigabytes—and would take days to upload and download. Streaming it in real-time? Forget about it. This is exactly the problem video encoding was created to solve.
The encoding process uses smart algorithms to analyze the video and strategically remove redundant data or visual information that the human eye won't easily notice. The end goal is simple: shrink the file size as much as possible while keeping the video looking crisp and clear.
The Impact on Internet Traffic
This isn't just about convenience; it’s the technology that underpins our entire digital media landscape. In fact, online video is projected to make up over 82% of all global internet traffic by 2025. Without encoding, platforms like Netflix, YouTube, and Twitch simply wouldn't be able to function.
Simply put, encoding transforms massive, unmanageable video files into lightweight, portable formats optimized for smooth playback on any device, anywhere. It’s the invisible workhorse that ensures your live stream reaches your audience without constant buffering.
To get a better grasp of the concepts we'll be discussing, here's a quick rundown of the essential terms.
Quick Guide to Key Encoding Concepts
| Term | Simple Explanation |
|---|---|
| Codec | The "brain" of the operation. A codec is the algorithm that does the actual compressing and decompressing of video data. |
| Container | The "box" that holds everything together. It bundles the compressed video, audio, and metadata into a single file (e.g., .MP4, .MOV). |
| Bitrate | The amount of data used to represent one second of video. Higher bitrates mean better quality but larger file sizes. |
| Resolution | The number of pixels in each frame, which determines the video's sharpness and detail (e.g., 1080p, 4K). |
| Frame Rate | The number of individual images (frames) displayed per second, creating the illusion of motion (e.g., 30 FPS, 60 FPS). |
Understanding these basics is the first step toward producing high-quality, reliable streams.
Real-World Applications
You actually interact with video encoding every single day, even if you don't realize it. It's the magic behind the curtain for a huge range of applications that creators and businesses depend on. Seeing how a service like Zoom Cloud Recording handles video can offer a practical look at encoding in action.
Here are a few places you'll find encoding at work:
- Live Streaming: When you go live, your software is encoding your video in real-time, compressing the feed on the fly so it can be sent to YouTube or Twitch with minimal lag.
- Video on Demand (VOD): After you upload a video, platforms like Vimeo encode it into multiple versions (1080p, 720p, etc.). This allows them to serve the best quality for each viewer's internet speed.
- Video Calls: Apps like Microsoft Teams and Zoom constantly encode your video to maintain a stable, clear connection, even on a less-than-perfect network.
- Digital Media Storage: Encoding lets you keep hours of high-quality video on your phone or laptop without instantly maxing out your storage.
Ultimately, getting a handle on the fundamentals of video encoding gives you the power to create a better, more professional viewing experience for your audience.
Understanding Codecs and Containers

To really get what video encoding is all about, we need to break down its two core components: the codec and the container. People often use these terms interchangeably, but they do completely different jobs. Nailing the difference is the first step toward producing a great-looking video that actually plays where you want it to.
Here’s a simple way to think about it: imagine you're publishing a book. The codec is the language the book is written in—the grammar and vocabulary used to tell the story. The container is the physical book itself—the cover, the binding, and the pages that hold the language. One can't exist without the other.
What Does a Codec Actually Do?
A codec, which is just a shorthand for coder-decoder, is the engine that does all the heavy lifting. It's an algorithm that compresses your massive raw video and audio files into something much smaller and more manageable.
When a viewer hits play, the exact same codec on their end kicks in to decompress the data, turning it back into the video you see on screen. A more efficient codec can squeeze a video down to a smaller file size without sacrificing much visual quality—a massive win for anyone streaming content online.
Believe it or not, the science behind this goes way back. A huge breakthrough happened in 1972 when researchers figured out how to use something called Discrete Cosine Transform (DCT) for image compression. This method essentially broke images into different frequency parts, allowing them to toss out the less important visual information. That core idea still powers the video codecs we rely on today.
And What About the Container?
So, if the codec is compressing the video, where does the container come in? The container is the file format that wraps everything up into a neat little package. It’s the digital box holding the compressed video stream, the audio stream, and even other things like subtitles or chapter markers.
You’ll recognize containers by their file extensions. Here are the big three:
- .MP4 (MPEG-4 Part 14): This is the king of containers. It's almost universally supported across every device, platform, and browser you can think of, offering a fantastic balance of quality and file size.
- .MOV (QuickTime File Format): Originally an Apple creation, MOV is a favorite in professional video editing circles. However, for delivering video over the web, MP4 is far more common.
- .MKV (Matroska Video): This is a flexible, open-standard container that’s like a digital Swiss Army knife. It can hold tons of different video, audio, and subtitle tracks in a single file, which makes it popular for archiving high-quality media.
To make this crystal clear, I've put together a table that shows how these pieces fit together in the real world.
Common Codecs vs Containers Comparison
| Type | Example | Primary Function | Best For |
|---|---|---|---|
| Codec | H.264 (AVC) | Compresses video data to reduce file size | Streaming, web video, general compatibility |
| Codec | H.265 (HEVC) | Compresses video data more efficiently than H.264 | 4K streaming, high-resolution video |
| Container | .MP4 | Bundles video, audio, and metadata into a single file | Universal playback on web and mobile devices |
| Container | .MOV | Bundles media tracks, popular in editing workflows | Professional video editing (especially on Mac) |
This table highlights the distinct roles they play. You pick a codec for compression efficiency and a container for broad compatibility.
When you go to export your video, your software is asking you to choose both a container and a codec. The go-to combination for almost any web video is an H.264 codec inside an .MP4 container.
This duo is the industry standard for a very simple reason: it just works, everywhere. For any creator, learning the ropes of this workflow is essential. If you want to dive deeper, understanding how to properly convert MP4 to H.264 will ensure your video plays perfectly for the widest possible audience, no matter what device they're using.
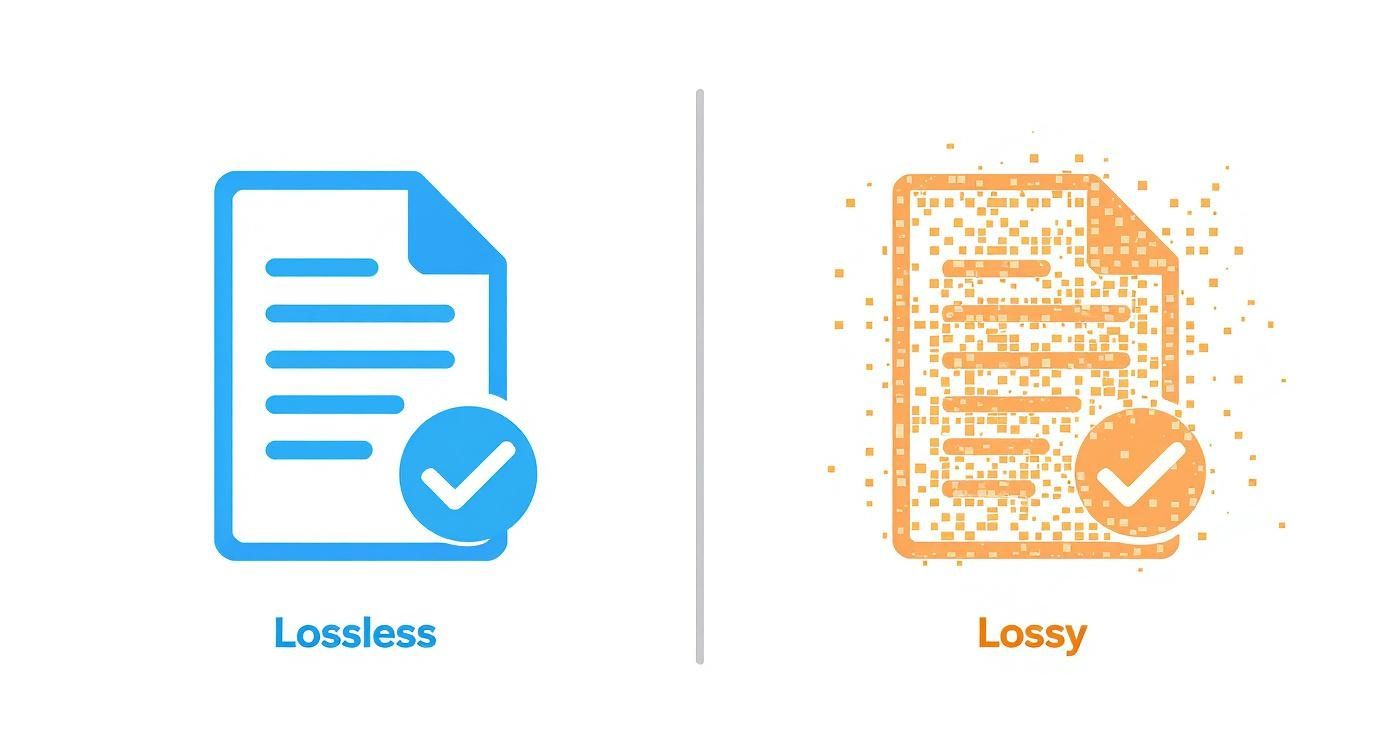
Lossy vs. Lossless: The Art of Compression
When you encode a video, you’re faced with a classic trade-off: do you want perfect, pixel-for-pixel quality, or do you need a small, manageable file size that’s easy to stream? This is the core difference between lossy and lossless compression, and understanding it is crucial for anyone creating video content.
Think of lossless compression like a perfectly packed suitcase. You can fold and arrange everything to fit into a smaller space, but when you unpack it, every single item is there, exactly as it was. It's a perfect, bit-for-bit copy of the original, just more efficiently stored.
Lossy compression, however, is more like packing for a weekend trip. You don’t bring your entire wardrobe; you bring only what you need. You still look great, but you left behind the things you likely wouldn't use anyway. The core experience is preserved, but some of the non-essential "data" is gone for good.
Why Online Video Depends on Lossy Compression
While lossless sounds like the obvious winner for quality, it just doesn't shrink files enough for the internet. A losslessly compressed video would be enormous—far too big for most people to download or stream smoothly.
That’s why virtually all online video, from a YouTube premiere to your favorite show on Netflix, relies on smart, lossy compression.
This method works by strategically throwing away bits of visual and audio data that our eyes and ears are least likely to notice. It's a very clever process.
- In a scene with a vast blue sky, it might smooth out thousands of nearly identical shades of blue into just a few, saving a ton of data.
- It often removes incredibly high-pitched audio frequencies that are outside the range of human hearing.
- It analyzes movement from one frame to the next, so if a person is talking against a static background, it only redraws the person's face, not the entire scene.
The goal isn't just to cut data, but to do it intelligently. By focusing on these imperceptible details, a modern codec can slash file sizes by over 90% while keeping the video looking sharp and clear.
Lossy compression isn't about making your video look bad; it's about making it look great at a fraction of the data cost. It intelligently removes information you probably wouldn't have noticed anyway.
Finding the Right Balance
So, which one should you use? It all comes down to what you’re trying to do.
If you're a professional editor or archivist who needs a perfect master copy, lossless is the only way to go. Every single pixel must be preserved.
But for delivering video to an audience online, lossy compression isn't just a good choice—it’s the only practical one. It's the artful compromise that makes the entire world of streaming possible, ensuring your viewers get a smooth, high-quality experience without waiting for a massive file to buffer.
How Bitrate, Resolution, and Frame Rate Work Together
To really get a handle on your stream’s quality, you need to understand the big three of encoding settings: bitrate, resolution, and frame rate. These aren't just isolated dials you can twist independently; they're deeply connected. The real magic happens when you get them working in harmony to create a stream that looks crisp, plays smoothly, and doesn’t leave your viewers staring at a buffering wheel.
Let’s try a simple analogy. Think of your bitrate as a "data budget" for every single second of your video. It's the amount of information you get to "spend" to paint the picture on screen. A bigger budget means more data, which naturally leads to more detail and a clearer image.
Defining the Key Players
With that budget in mind, your resolution and frame rate are the two things that decide how you spend it. They place demands on your data budget, and balancing them is the name of the game.
Resolution is basically the size of your video's canvas. A standard 1080p video (1920x1080 pixels) has to fill in over 2 million pixels for every frame. Jump up to 4K, and you’re suddenly dealing with over 8 million pixels. A bigger canvas demands a much larger data budget (a higher bitrate) to fill all those pixels with sharp detail.
Frame Rate (FPS) is how many of those canvases you're showing per second. Imagine a flipbook. A 30fps stream means your budget has to cover 30 "pages" every second. A super-smooth 60fps stream doubles that demand, requiring your budget to stretch across 60 pages per second.
This is where the idea of compression comes in. To make streaming possible, we have to make the video file smaller, which means making a trade-off. Do we keep every last bit of data (lossless), or do we intelligently discard some of it to create a manageable file size (lossy)?
As you can see, the compressed version sacrifices some detail. That's the compromise we make, and our settings determine how graceful that compromise is.
Finding the Sweet Spot
Here's the most important thing to remember: it’s all a balancing act. If you crank up the resolution or frame rate but don’t also increase your bitrate, you’re forcing the same data budget to cover more pixels or more frames. The encoder has no choice but to start cutting corners, and that’s when you see nasty compression artifacts like blockiness, pixelation, or a blurry mess.
A high-resolution 4K stream with a low bitrate will often look worse than a 1080p stream with an adequate bitrate. The goal isn't just to max out all the numbers; it's about finding the right balance for your specific content and your internet connection.
Think about it this way: a fast-paced gaming stream at 1080p and 60fps needs a hefty bitrate (maybe 6,000 kbps or more) to keep up with all that on-screen motion. On the other hand, a simple talking-head webinar at 1080p and 30fps can look fantastic with a much lower bitrate (like 3,500 kbps) because very little is changing from one frame to the next.
Choosing the right combination is a crucial step. If you want to dig into more specific numbers for different platforms, our comprehensive guide on the best bitrate for streaming has detailed settings to get you pointed in the right direction.
Best Encoding Practices for Modern Streaming
Knowing the theory behind video encoding is great, but putting it into practice is what really makes your content shine. For most creators today, the workflow boils down to two main paths: encoding a video on your own machine or letting a cloud-based service do the heavy lifting for you.
Local encoding gives you total control. Using software like OBS or Adobe Media Encoder, you can tweak every last setting to your heart's content. But this power has a price—it's incredibly demanding on your computer's processor. That can be a huge problem if you're trying to stream live and create content at the same time.
Cloud encoding, on the other hand, just takes the whole process off your plate. You upload your finished video, and the platform's beefy servers handle the rest. This approach really simplifies your workflow, frees up your computer for other tasks, and makes sure your video is perfectly processed for every possible device.
The Power of the Mezzanine File
When you're working with a pre-recorded livestream platform, there's one rule that trumps all others: always upload the highest quality source file you possibly can. This high-quality master file is what we call a mezzanine file.
Think of it like giving a master chef the absolute best ingredients to cook with. When you hand over a pristine, high-bitrate video, the cloud encoder has a ton of data to work with. It can then intelligently create multiple optimized versions—a process known as transcoding—to perfectly suit every single viewer.
The whole point of video encoding is to shrink the massive amount of data it takes to capture, store, and send video. It drastically cuts down storage space, speeds up transfer times, and lowers the bandwidth needed for delivery, which is exactly what makes high-quality streaming possible for everyone. For a closer look at how codecs pull this off, check out this great resource from 100ms.live.
This means a viewer watching on a 4K TV with a fiber connection gets a stunning, crystal-clear picture. At the same time, someone on their phone with a spotty mobile signal gets a smooth, buffer-free stream. Both get the best possible experience for their setup, and it all comes from that one high-quality file you uploaded.
Why Cloud Encoding Excels for Pre-Recorded Content
This magic of creating multiple versions of a stream is the backbone of technologies like adaptive bitrate streaming. It allows the video player to automatically jump between different quality levels on the fly, depending on the viewer's internet speed. It’s how services like Netflix and YouTube deliver such a seamless experience.
For a deeper dive into the mechanics, take a look at our guide on what HLS streaming is and how it works.
For pre-recorded content, this makes cloud encoding the hands-down winner. By just providing that high-quality mezzanine file, you let the platform do what it does best.
Here’s why it works so well:
- Maximum Quality: The cloud encoder creates flawless, optimized versions directly from your best source material.
- Broadest Compatibility: The platform automatically generates streams for everything from smartphones to smart TVs.
- Flawless Playback: Adaptive bitrate technology means your viewers get a smooth, uninterrupted experience.
- Zero Local Strain: Your computer isn't tied up for hours rendering out multiple files. You just upload once and walk away.
Ultimately, this workflow gets rid of the technical headaches and lets you focus on what matters: creating amazing content, knowing it will look its best for every single person who hits play.
Common Video Encoding Questions Answered
As you get your hands dirty with video creation, you’ll quickly find that the same questions about encoding tend to surface. Getting a straight answer can be the difference between a frustrating technical problem and a smooth, professional-looking stream. Let's clear up some of the most common head-scratchers.
What Is the Difference Between Encoding and Transcoding?
It’s easy to mix these two up since they sound similar, but they happen at completely different stages of your video’s journey.
Encoding is that very first compression step. Imagine you’ve just shot some beautiful raw video on your camera. That file is massive and impractical. Encoding is the process of packing that raw footage into its first "digital suitcase"—like an MP4 file—so it’s a manageable size and ready to be used.
Transcoding, on the other hand, happens after the initial encoding. It’s like taking that packed suitcase and smartly repacking its contents into several different bags for various purposes. When you upload a single 1080p video to a streaming platform, it transcodes that file into multiple versions (1080p, 720p, 480p, etc.) so viewers with different internet speeds all get a smooth experience.
Which Video Codec Should I Use for Streaming?
When it comes to live streaming, one codec reigns supreme: H.264 (also called AVC). It’s the undisputed king for a simple reason: compatibility. It just works, everywhere. Almost every device, browser, and platform on the planet can play an H.264 video without a hiccup.
Sure, there are newer, more efficient codecs out there like H.265 (HEVC) or AV1. They can deliver higher quality video at the same file size, which is great. The problem? Not everything supports them yet. If you use one of them, you risk shutting out a portion of your audience who can't watch your stream.
Key Takeaway: Don't overthink it. For live streaming, stick with H.264. It's the safest and most reliable way to ensure everyone can tune in.
How Do I Choose the Right Bitrate for My Video?
There's no single "perfect" bitrate. The right number really depends on a few things: your video's resolution, its frame rate, and what's actually happening on screen. Think of bitrate as the amount of data you're allocating to each second of video—more data means higher quality.
Here are some solid starting points to get you in the right ballpark:
- For 1080p at 30fps: A bitrate between 3,000 and 6,000 kbps usually hits the sweet spot.
- For 720p at 30fps: You can typically get great results with 1,500 to 4,000 kbps.
Keep in mind that high-action content, like a gaming stream or a sports recap, needs to be on the higher end of these ranges to keep things looking crisp. A slower-paced talking-head video, however, can look fantastic with a lower bitrate. It's always a good idea to check the specific recommendations for whatever platform you're streaming to.
Should I Use CBR or VBR for My Stream?
This is a classic debate, and the answer really boils down to whether you're streaming live or uploading a pre-recorded video.
CBR (Constant Bitrate) is predictable. It sends data at a steady, unchanging rate. This stability is why live streaming platforms have traditionally loved it—it makes managing a real-time data flood much easier.
VBR (Variable Bitrate) is smarter. It adjusts on the fly, dedicating more data to complex, fast-moving scenes and less to simple, static shots. The result is often much better quality for the same average file size.
For uploading a finished, pre-recorded video, VBR is almost always the better choice. It just produces a higher-quality result. For live streaming, the old advice was to stick with CBR for stability, but many platforms now handle VBR just fine. Check your platform's guidelines to be sure. If you want to dig deeper into these kinds of topics, you can Discover more video encoding insights on the Vidfarm Blog.
With Pre-recorded LiveStream, you don't have to sweat these settings. Just upload your high-quality video, and our cloud encoders take care of everything, delivering a flawless stream to your audience every single time. Learn how to simplify your streaming workflow today.